
AI Prototyping Mastery for Product Managers: The LoCuS Stack Playbook
Your step-by-step guide to building fully functional prototypes with Lovable, Cursor & Supabase

Why This Playbook Matters
Prototyping usually takes weeks of design, coding, and setup before you can even test an idea. But with the right AI-first stack, you can skip that grind and move from concept to something real, demoable, and usable in just days.
That’s what this playbook is about. I’ll walk you through how to use a combination of Lovable, Cursor, and Supabase (what I call the LoCuS stack) to build fully-functional prototypes at lightning speed.
I’ve spent 400+ hours with the LoCuS stack, building different prototypes, experimenting with prompts, refining user flows, and learning where to stop in Lovable and when to switch into Cursor for deeper control. What you’ll read here isn’t theory, it’s lessons distilled from hands-on practice.
When I say fully-functional prototypes, I mean prototypes with the following aspects -
Authentication (sign-in/sign-up)
A real backend + database for storing and fetching data
Deployment to a public URL so anyone can try it
These prototypes aren’t just pretty screens. They can be demoed to customers or investors and even put in the hands of real users for early feedback.
To be clear, making them truly production-ready (scalable, hardened, secure) takes more steps, and that’s outside the scope of this playbook. But for learning, testing, and pitching, fully-functional is more than enough.
Introducing WhiteboardX
As part of this playbook, I built a prototype called WhiteboardX with the LoCuS stack. It took me just two late-night sessions (~10 hours).
It is a simple but powerful tool for -
Brainstorming ideas for presentations
Pulling research together in one place
Sketching diagrams and flows
It’s not production-ready yet, but it’s live and functional.
PM Takeaway - This is the level of prototype you can realistically build and share with stakeholders in a matter of hours, not weeks. The LoCuS stack makes that possible.
Lovable: From Prompt to Prototype in Minutes
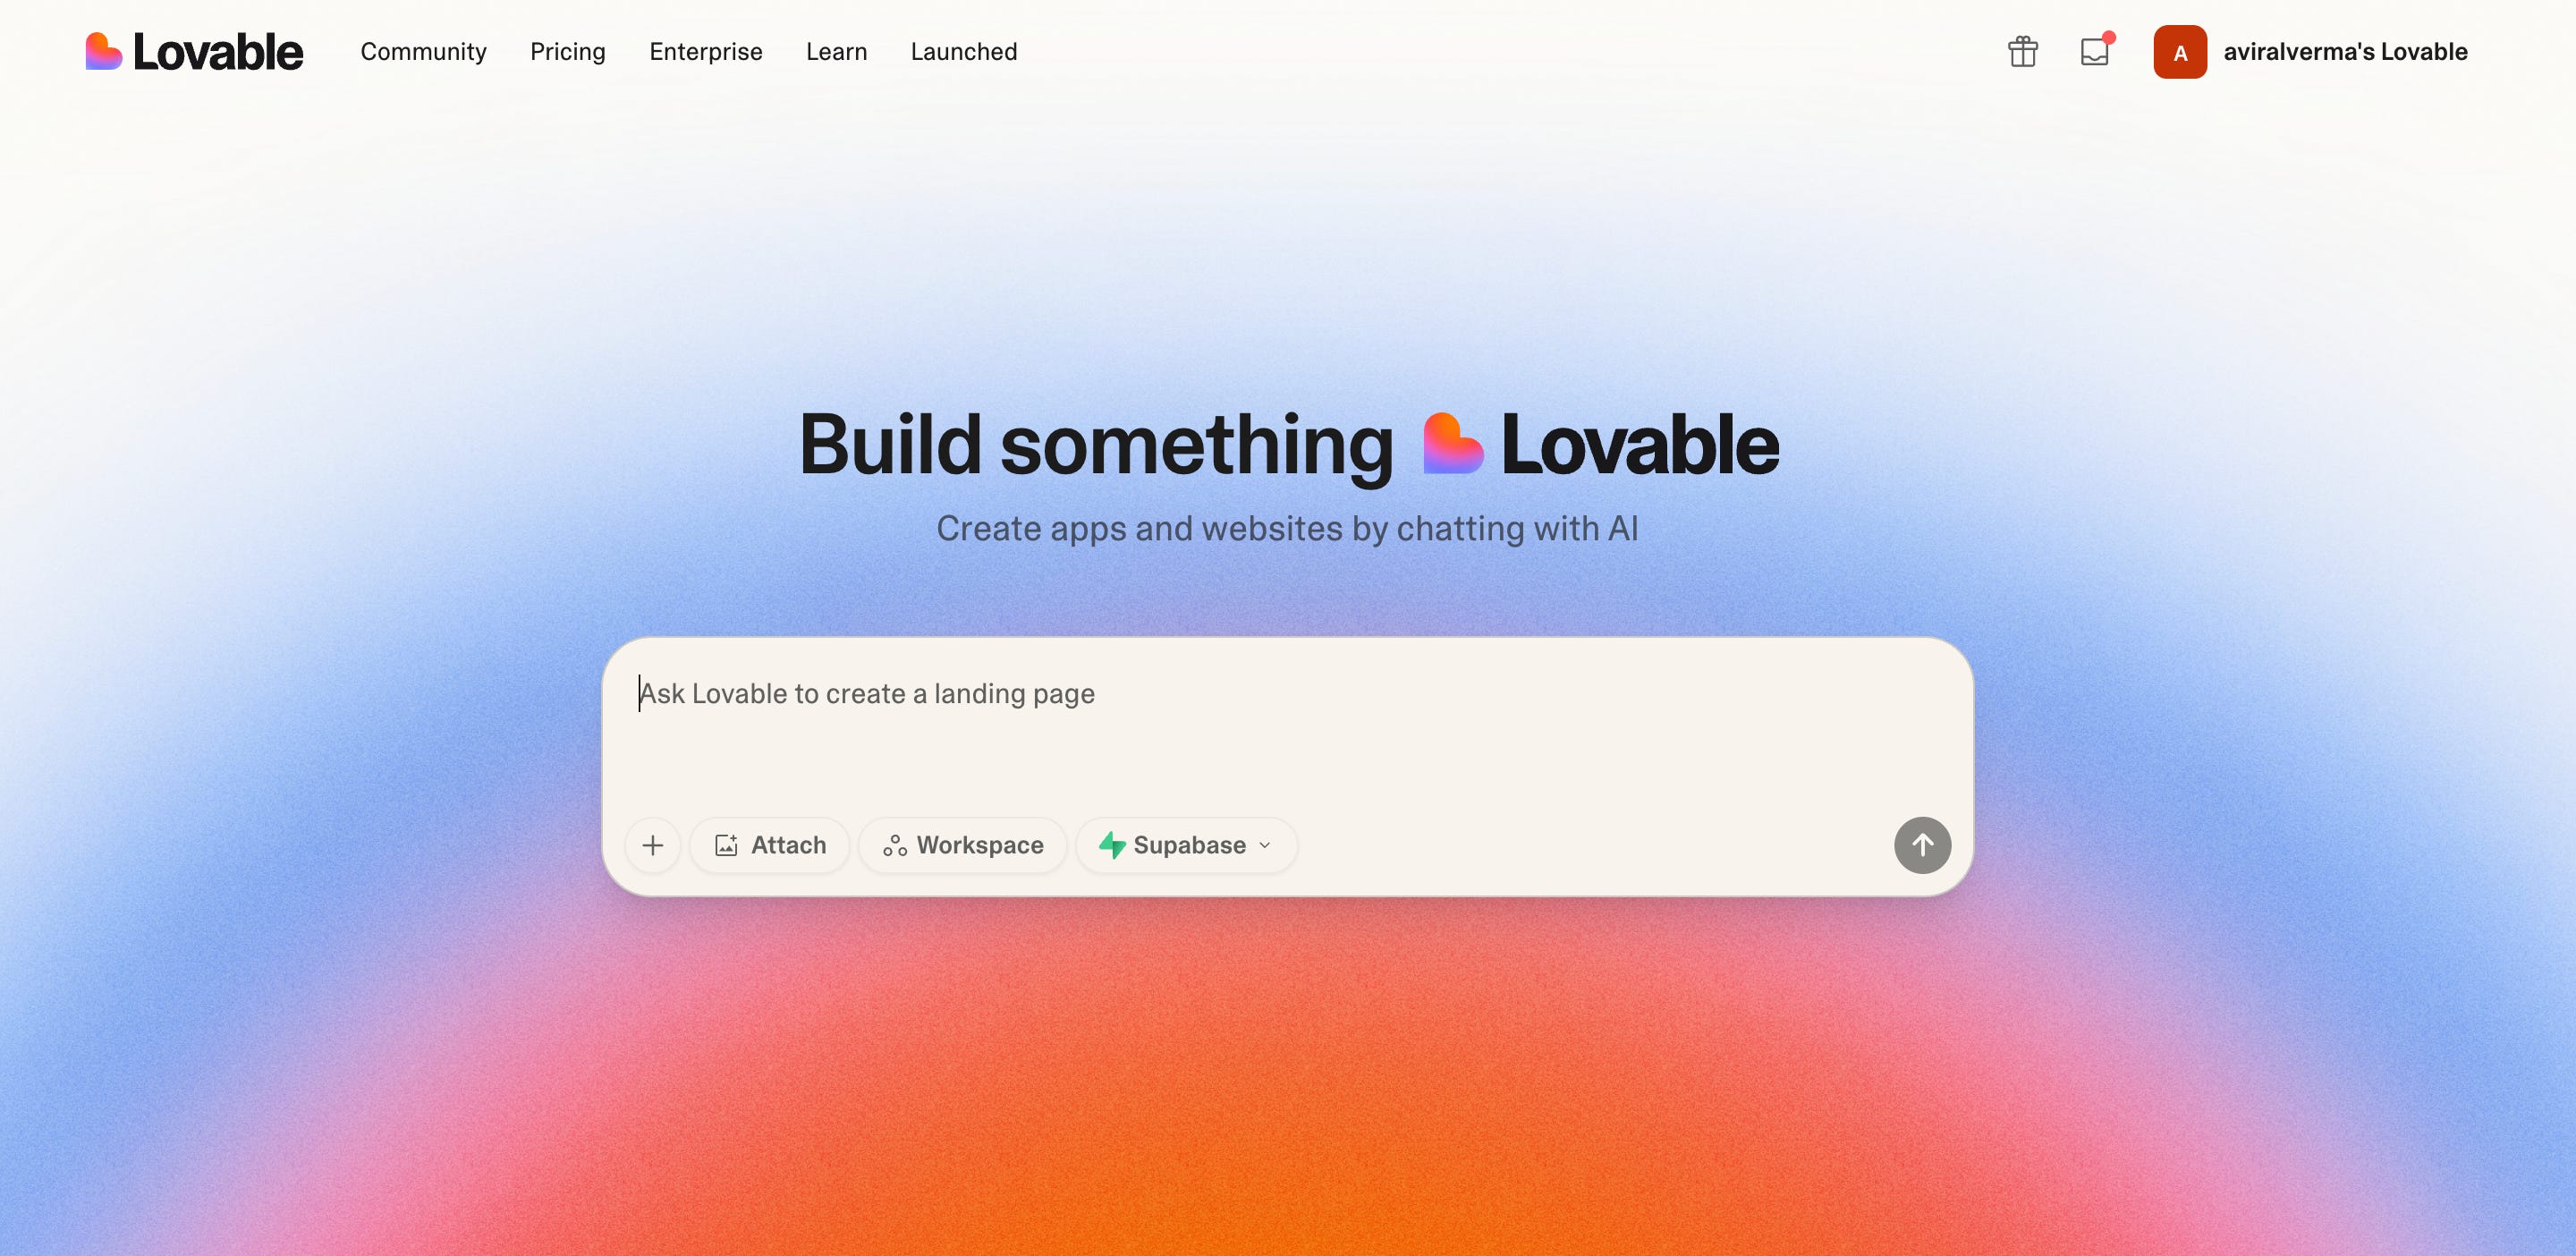
Lovable is where the magic starts. Instead of opening a blank IDE or Figma board, you begin with a simple prompt that describes what you want to build. For WhiteboardX, my initial ask was:
“I want to build a web application which can be used for brainstorming different ideas. Create an application that looks premium, minimalistic, and follows a modular, component-driven architecture.”
Within seconds, Lovable generated a working UI. From there, I refined it through a few more prompts until it matched what I had in mind.
And Lovable isn’t just about visuals. Out of the box, it connects seamlessly with -
Supabase for authentication, backend, and database
GitHub for version control and handoff to Cursor
One-click deployment to publish your app instantly on a public URL
PM Takeaway - Lovable compresses what would normally be days of frontend setup, backend wiring, and deployment into a handful of prompts. For a PM, this means you can validate product ideas visually and functionally within hours, before engineering ever gets involved.
One small tip - Lovable adds a badge by default on prototypes. If you’d prefer a cleaner look, you can toggle this off using the Hide Lovable Badge option in the settings.
Beyond UI generation and integrations, Lovable also has a built-in chat option that lets you brainstorm prompts without committing changes - a lightweight way to experiment with ideas before applying them.
Also, Lovable automatically keeps a version history of your project. If a prompt generates changes you don’t like, or something breaks, you can easily roll back to a previous working version.
Finally, when you’re satisfied with your prototype, you can simply hit Publish. In just a few clicks, your app is live on a public URL - ready to share with teammates, customers, or even investors.
PM Takeaway - Lovable doesn’t just help you build. It helps you share and test prototypes fast, without setup overhead.
Supabase: Backend, Database & Persistence Without the Headaches
Most prototypes fail to move beyond static screens because wiring up a backend and database takes time. Supabase solves that. Out of the box, it provides:
Authentication (sign-in/sign-up)
A Postgres database (to store and fetch data)
APIs ready to use
In Lovable, connecting Supabase is seamless. Once linked, your prompts can leverage Supabase behind the scenes, whether for authentication, data persistence, or real queries.
For example, connecting Supabase takes just a couple of clicks (see snapshots below).
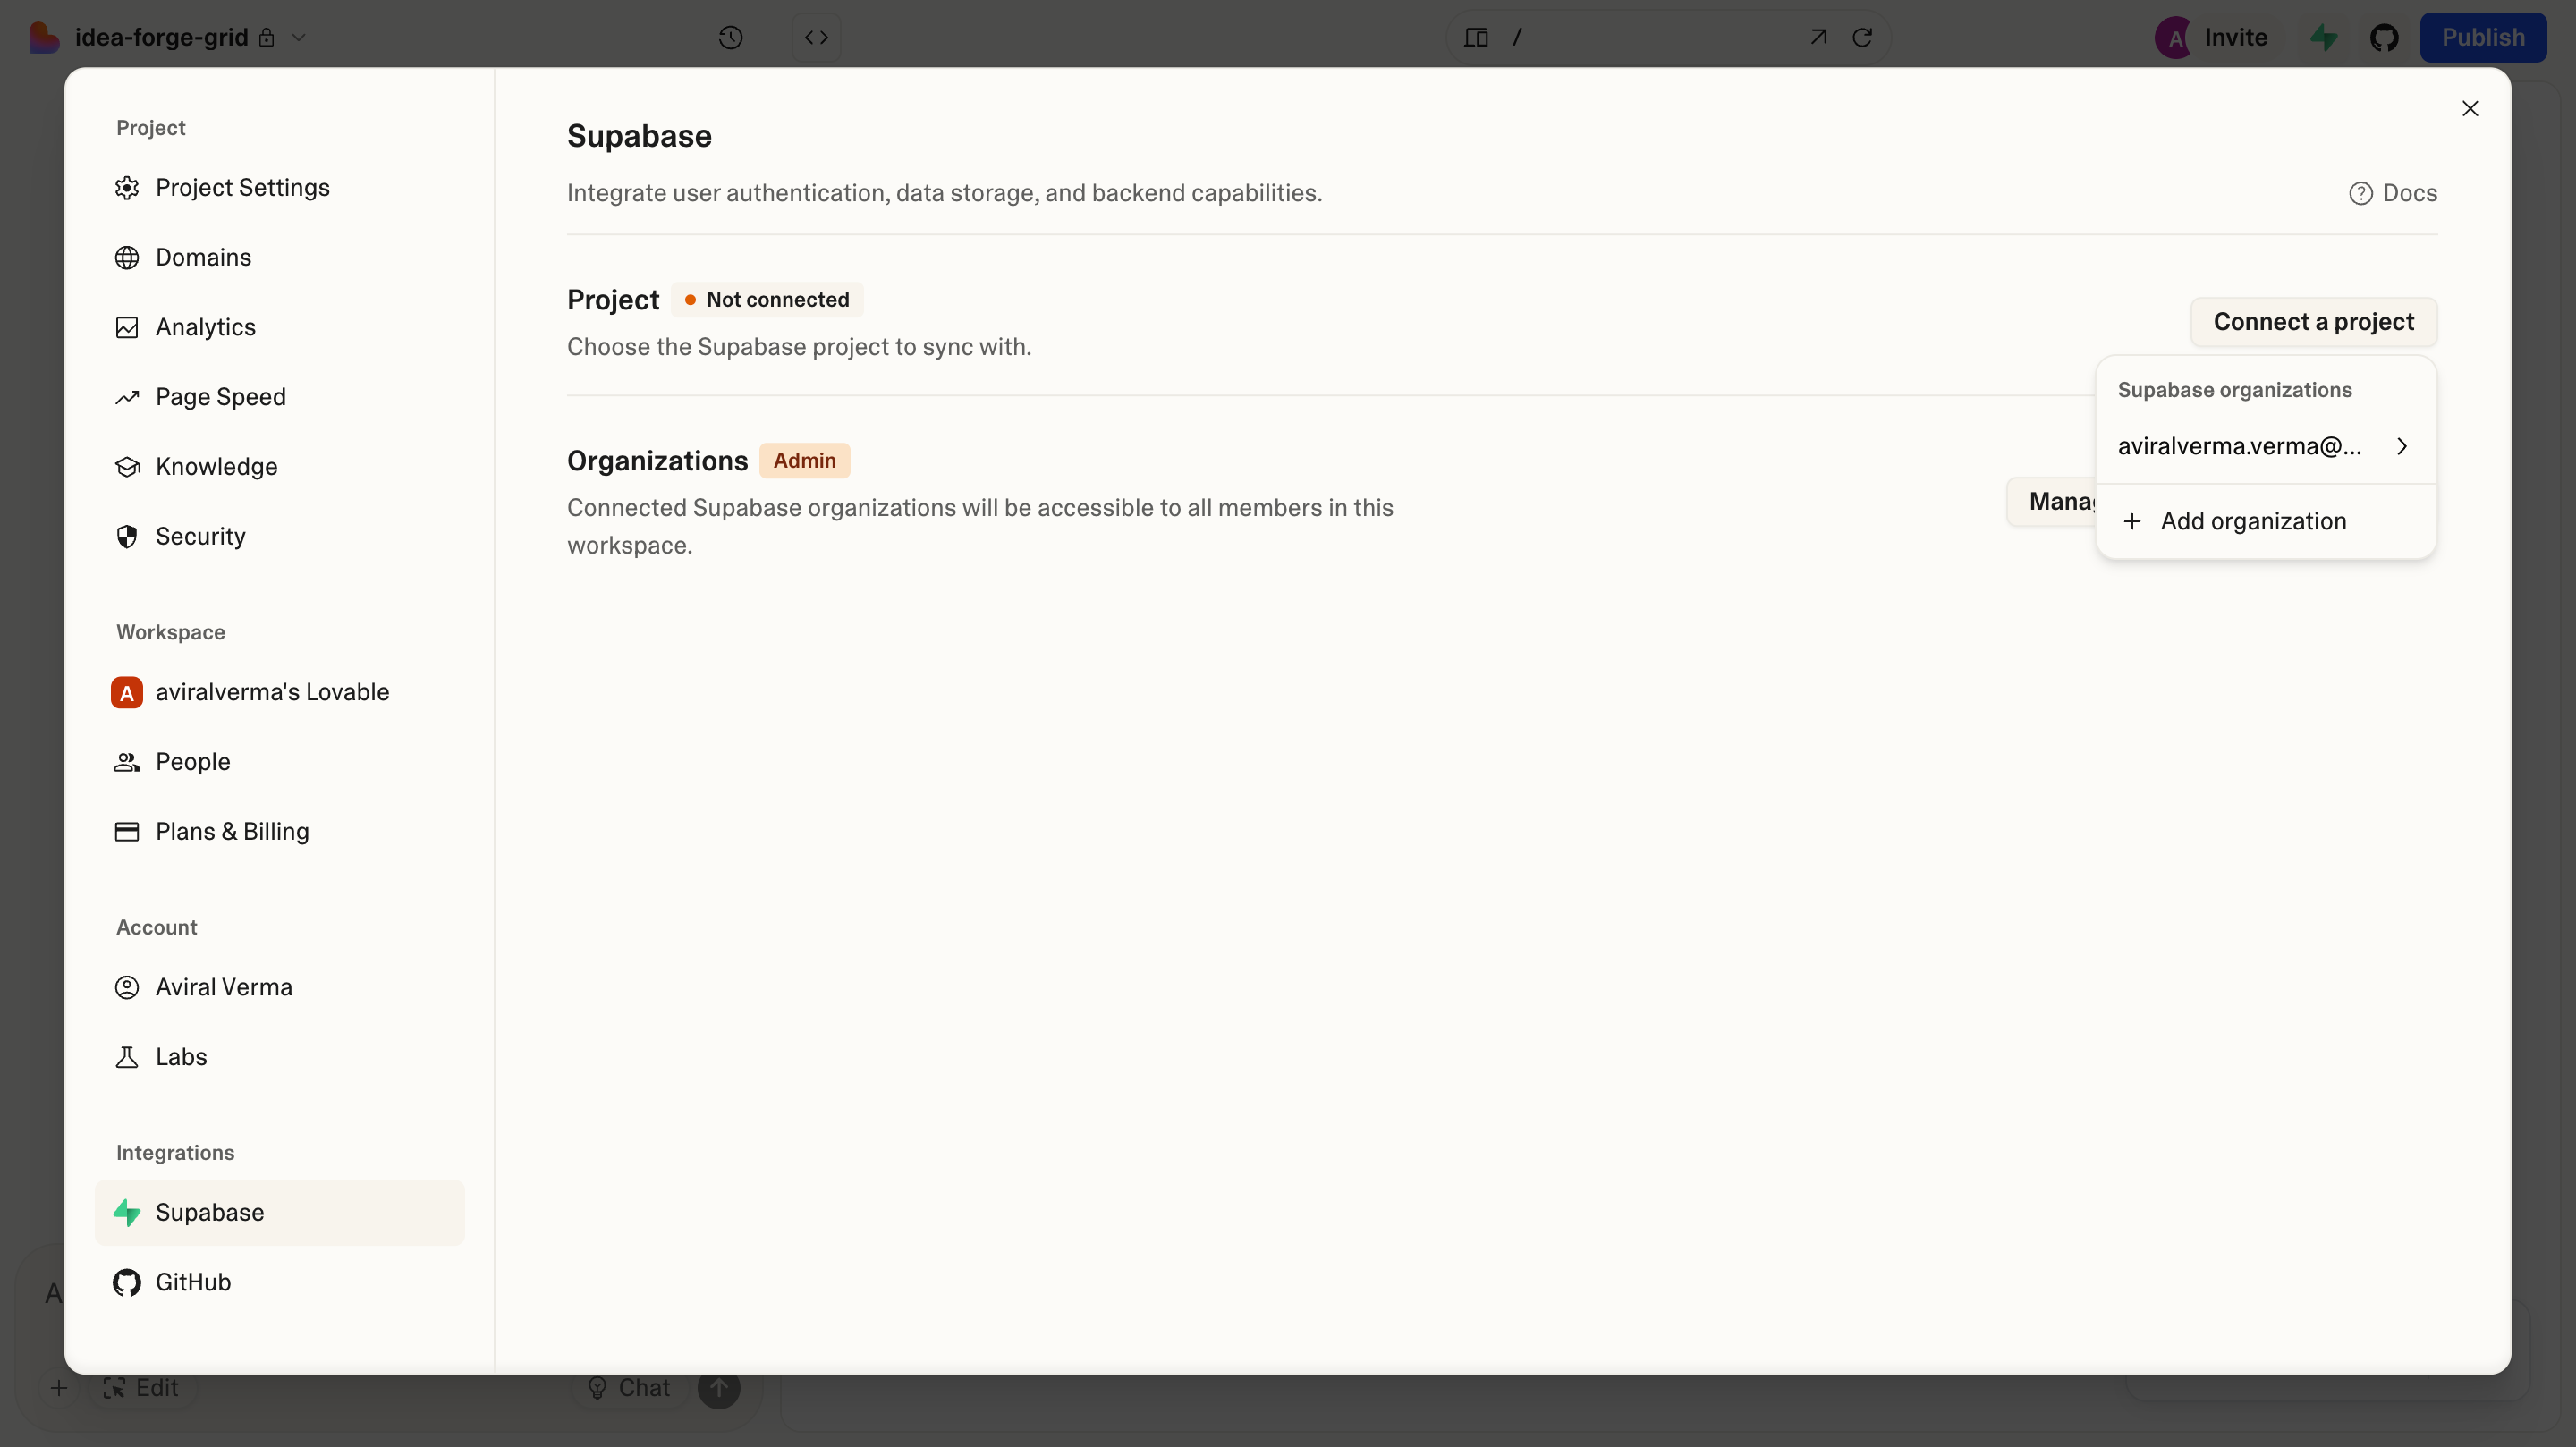
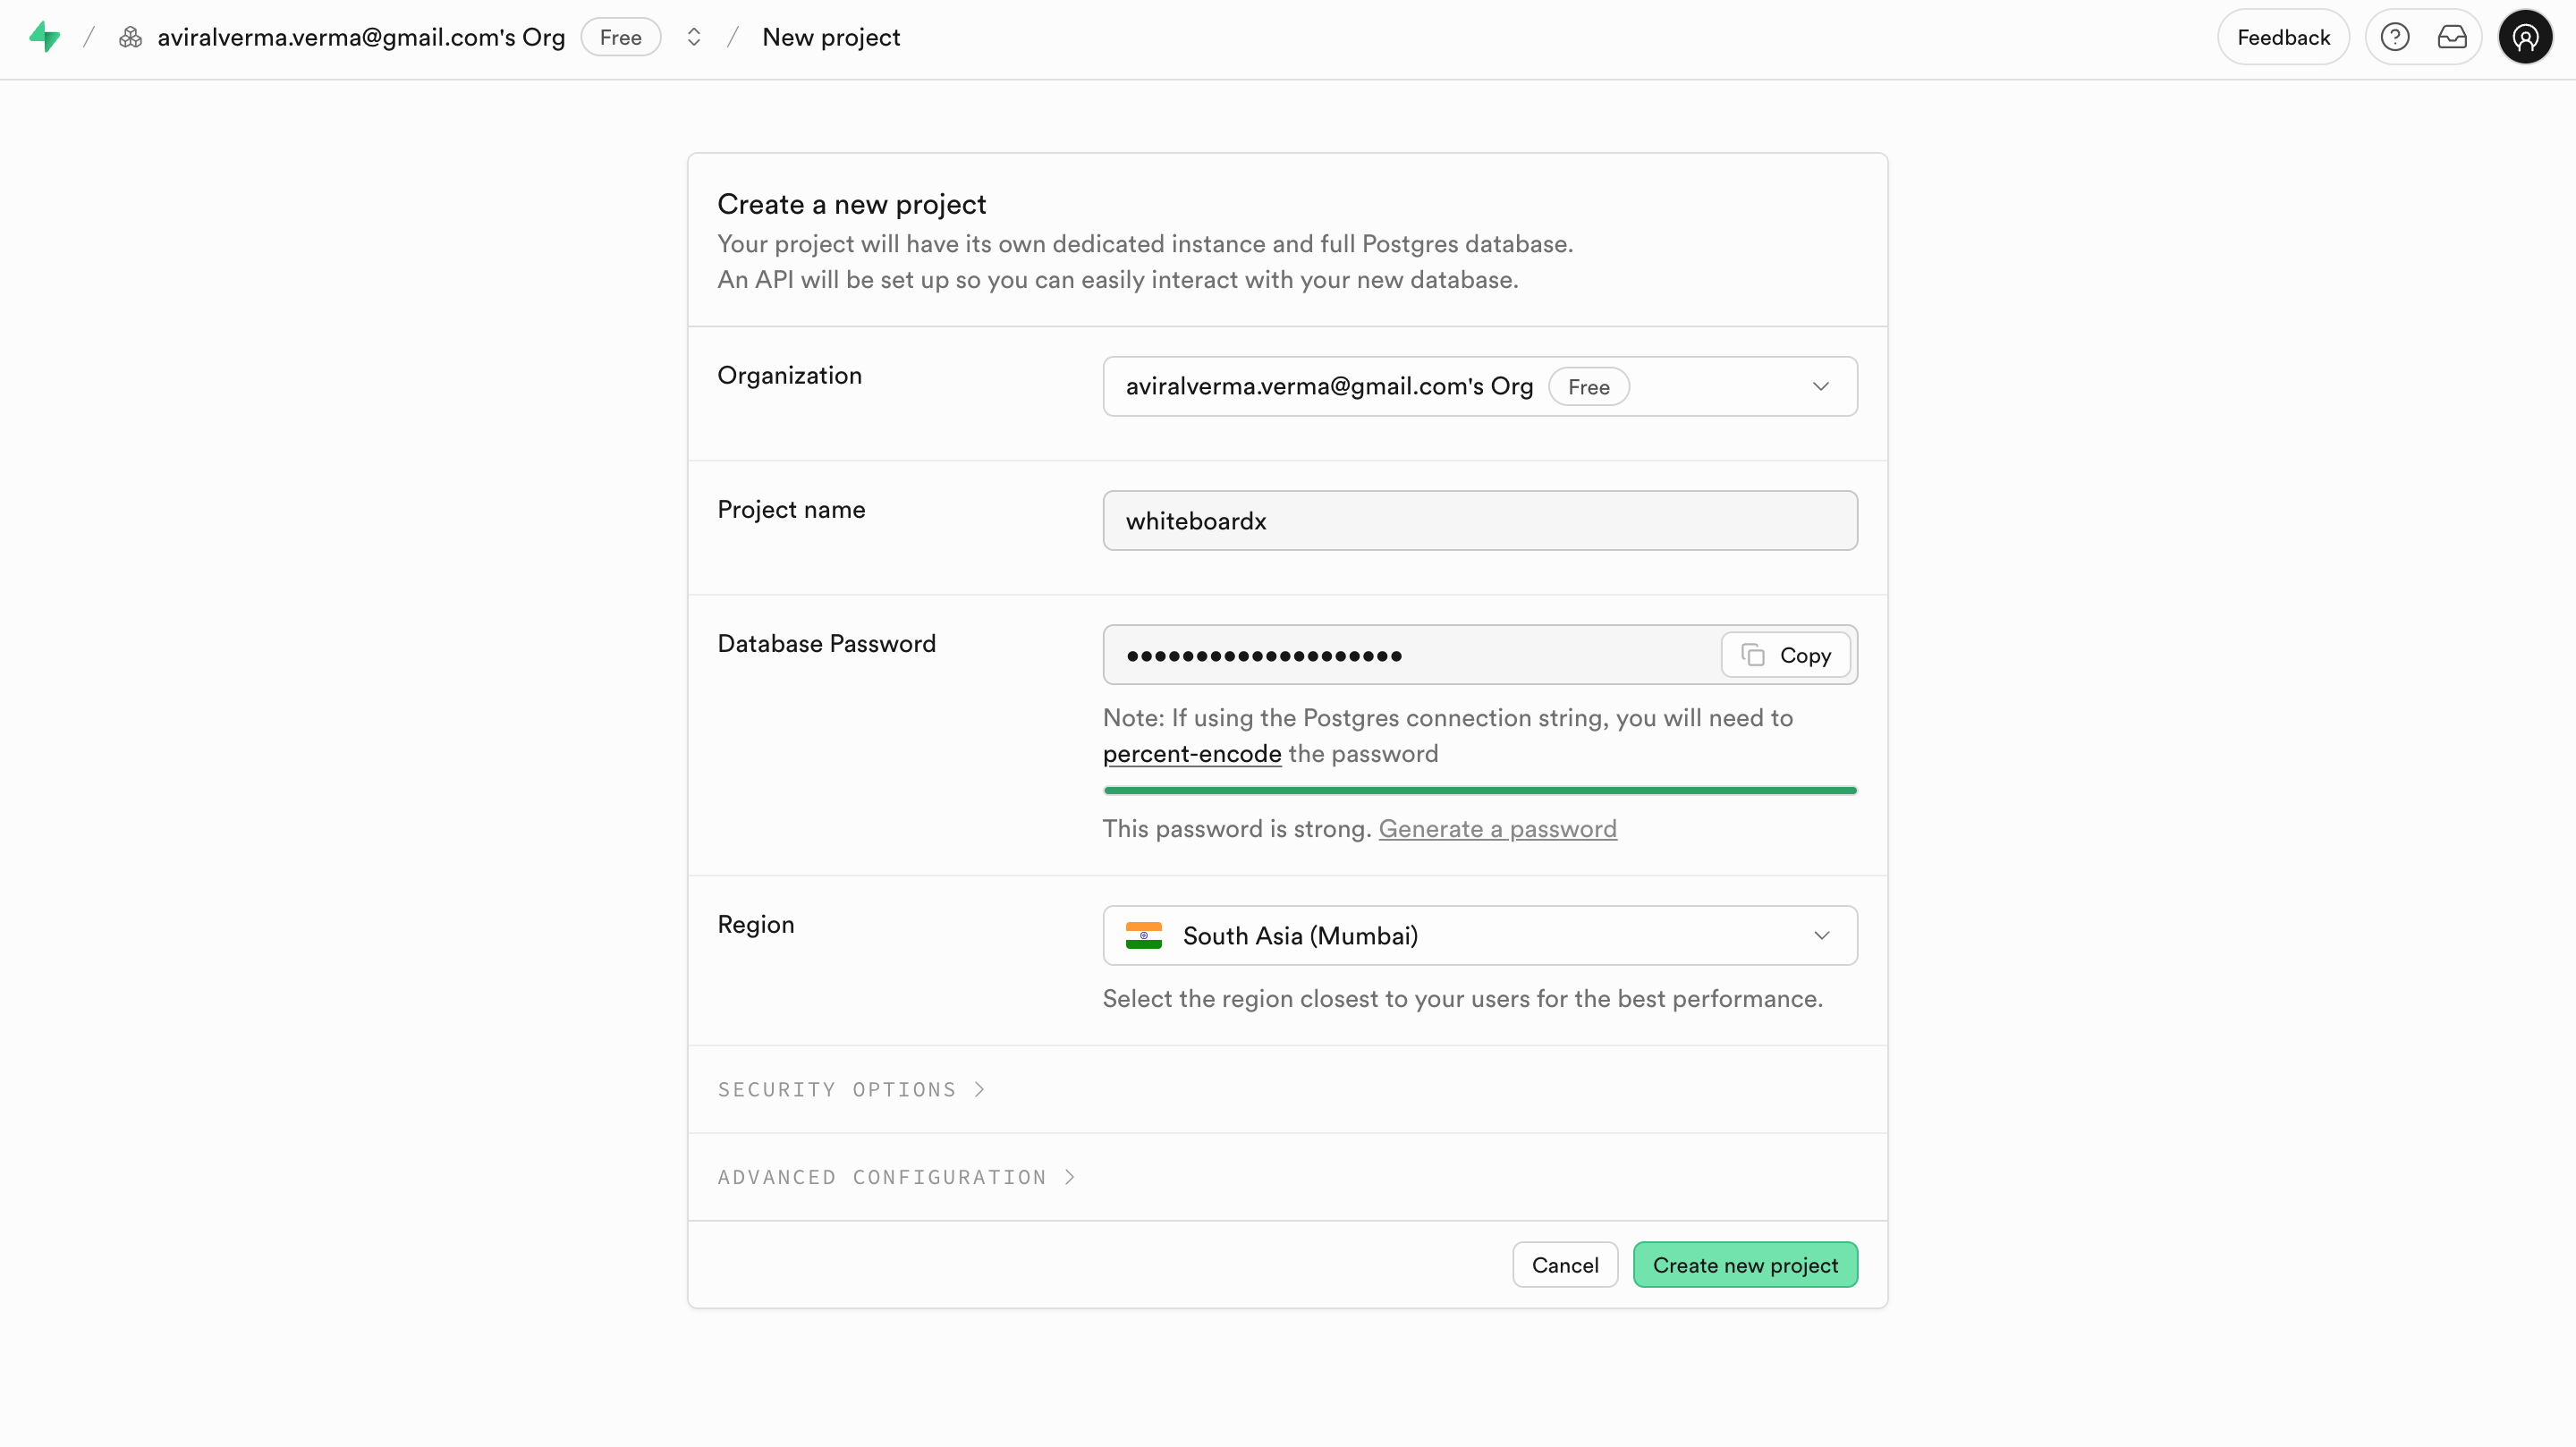
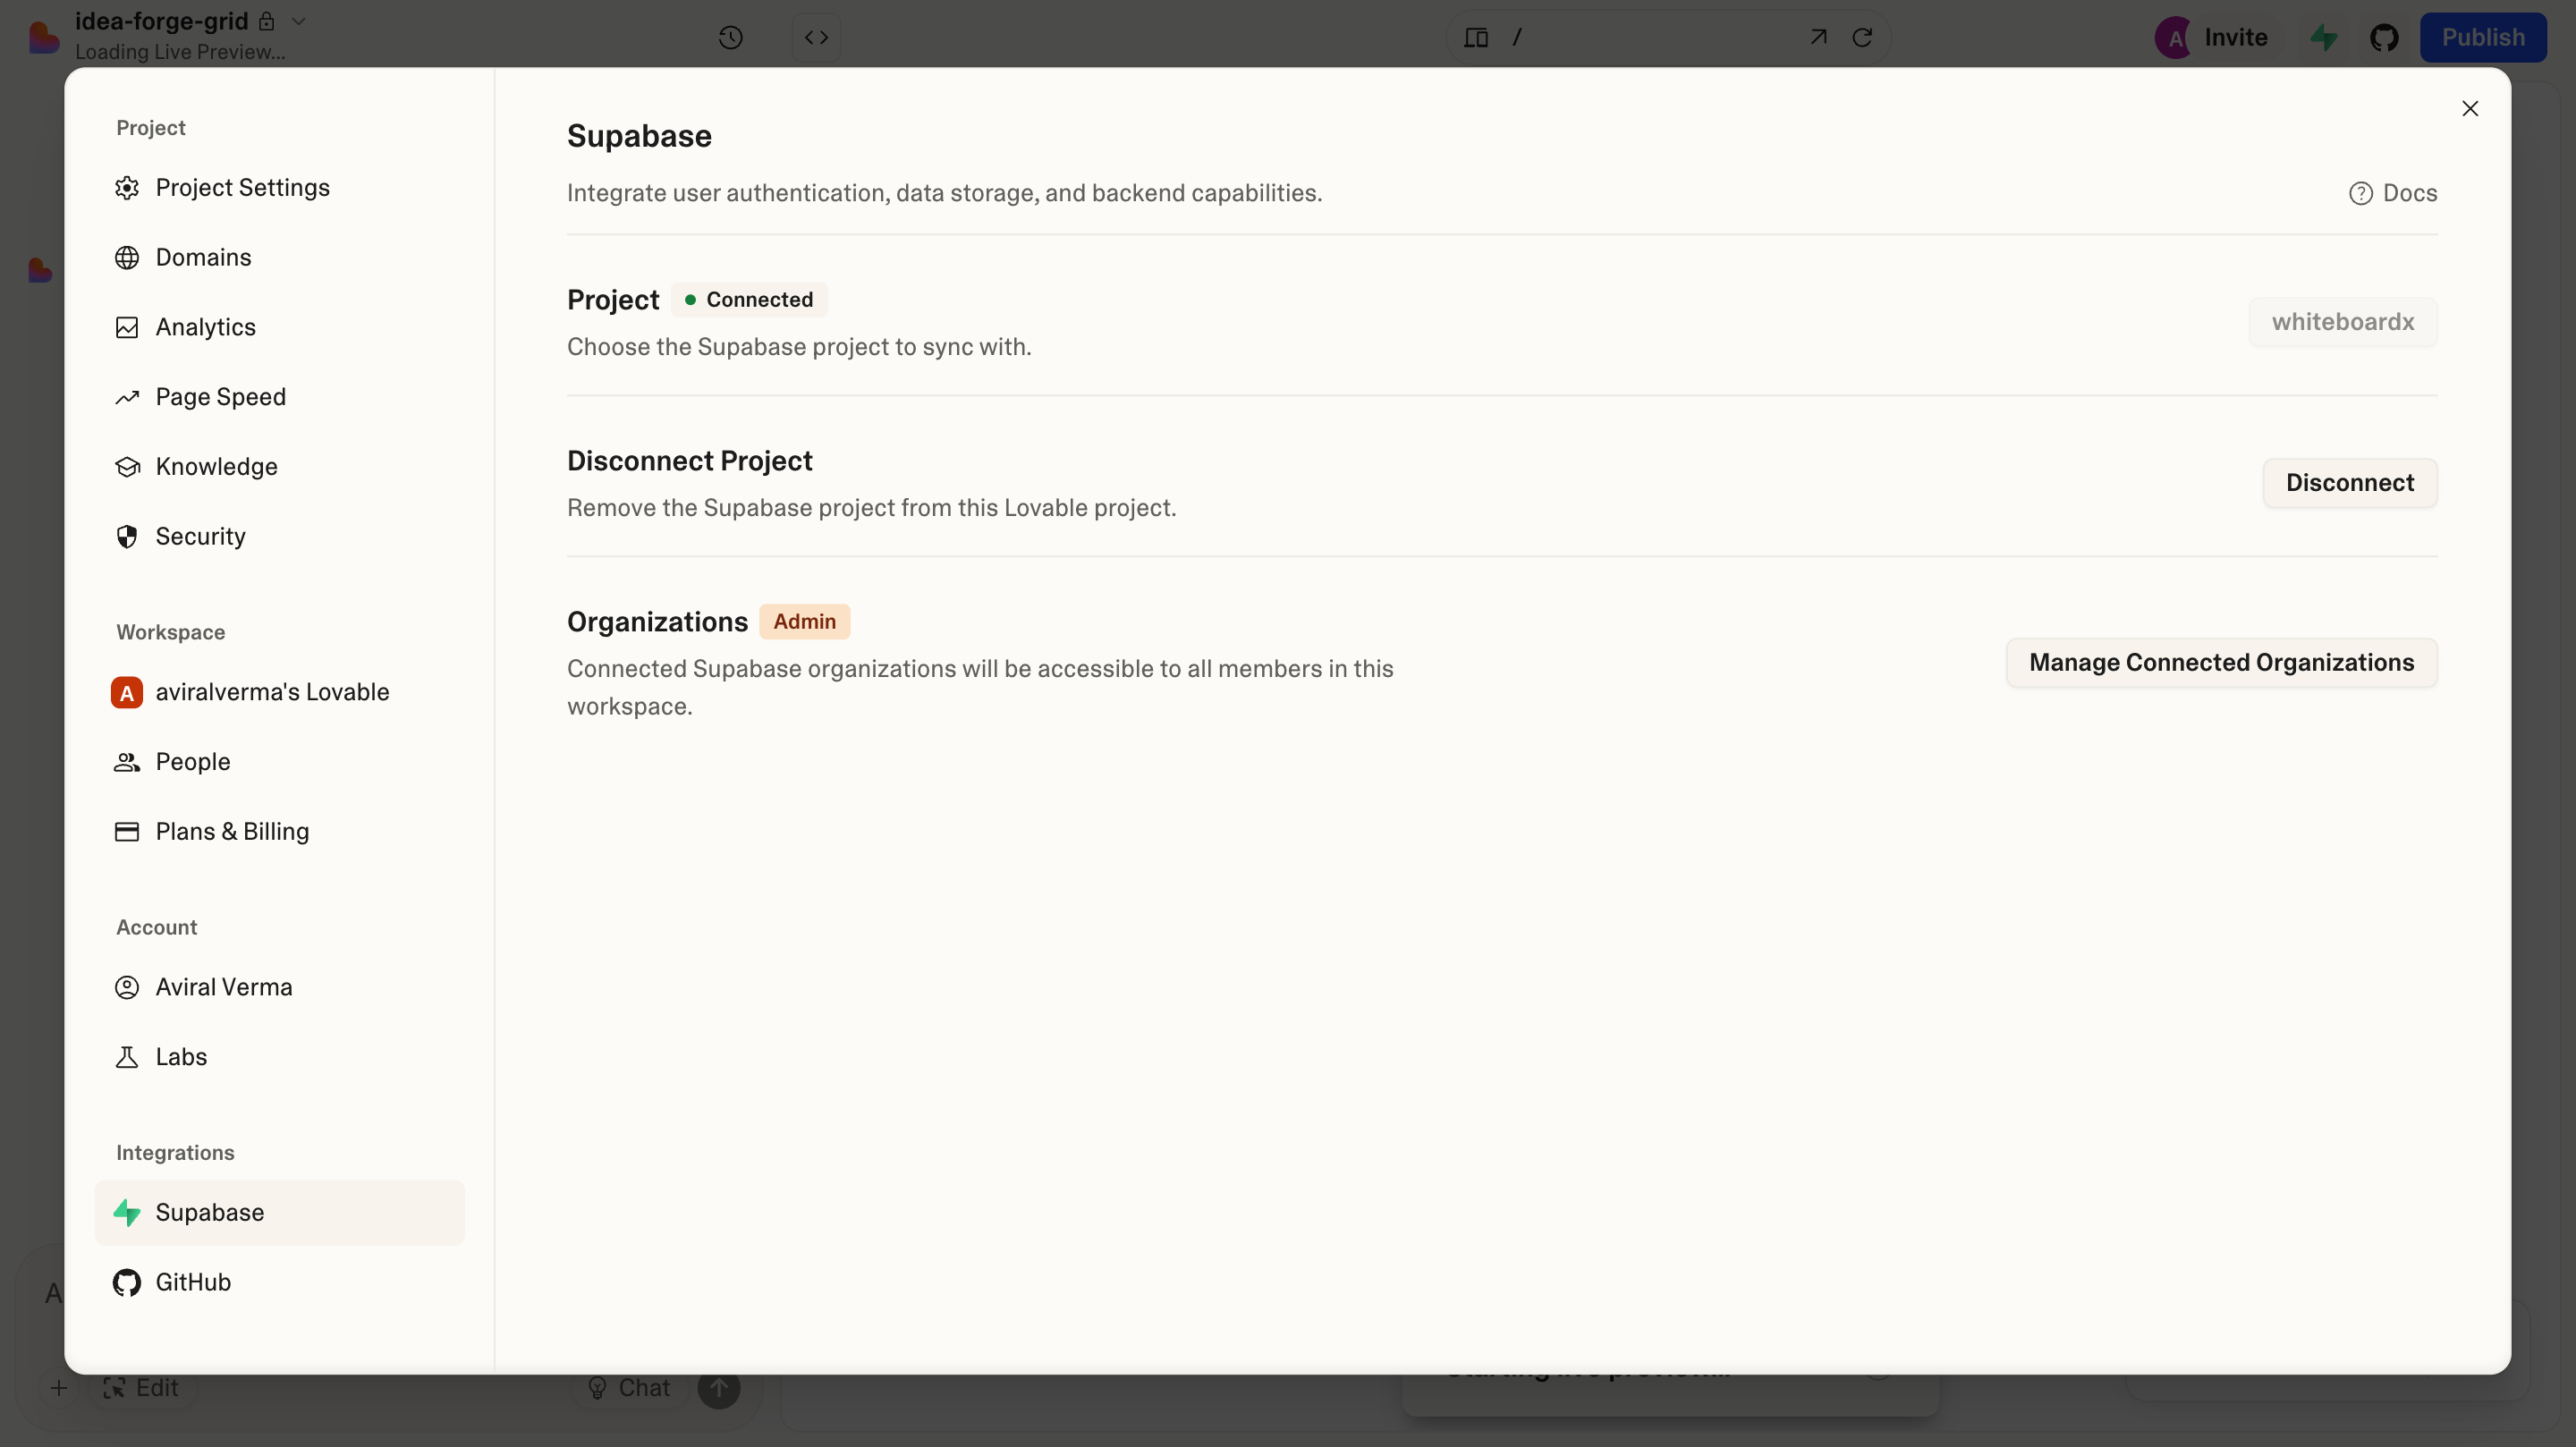
We’ll use Supabase shortly to set up authentication in WhiteboardX, but its role goes beyond login - it’s the foundation that makes your prototype feel like a real product.
PM Takeaway - Supabase eliminates one of the biggest blockers for PMs - you don’t need to know Postgres or backend engineering. You end up building prototypes that store real data securely, not just dummy placeholders.
Authentication: Adding Sign-Up Without Adding Stress
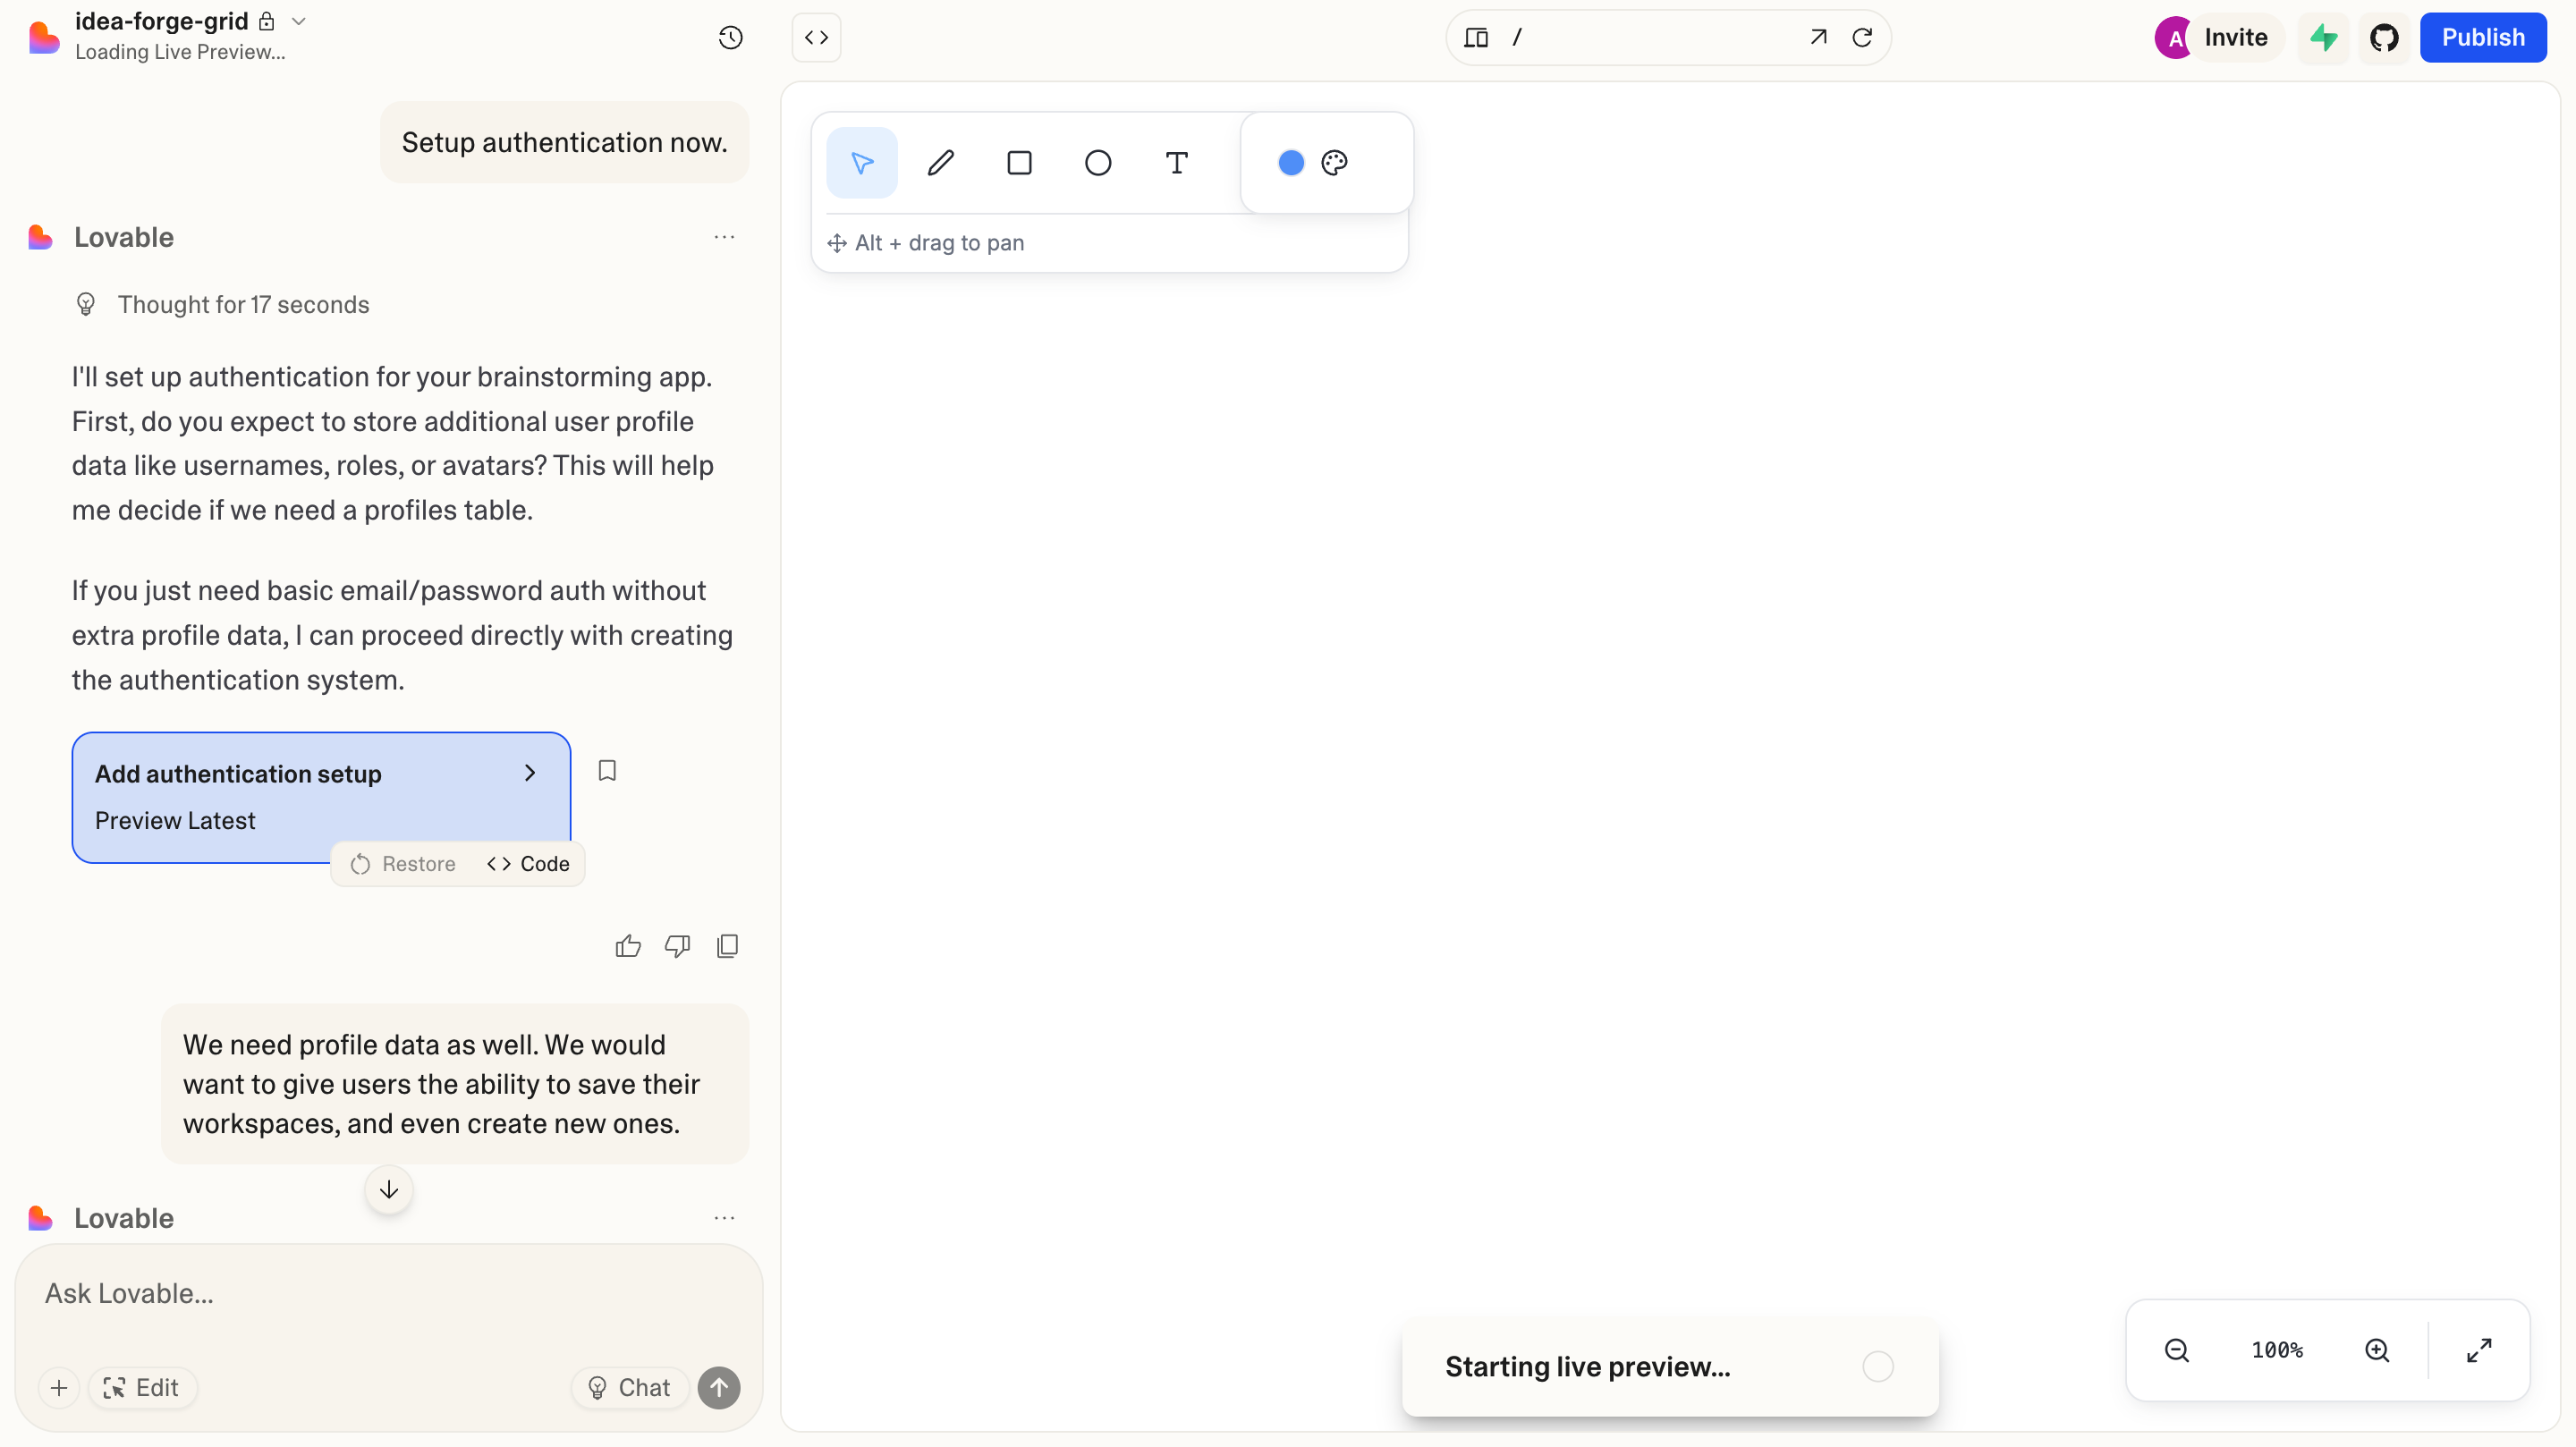
Once Supabase is connected, authentication is almost effortless. In Lovable, all it took was a single prompt:
“Setup authentication now.”
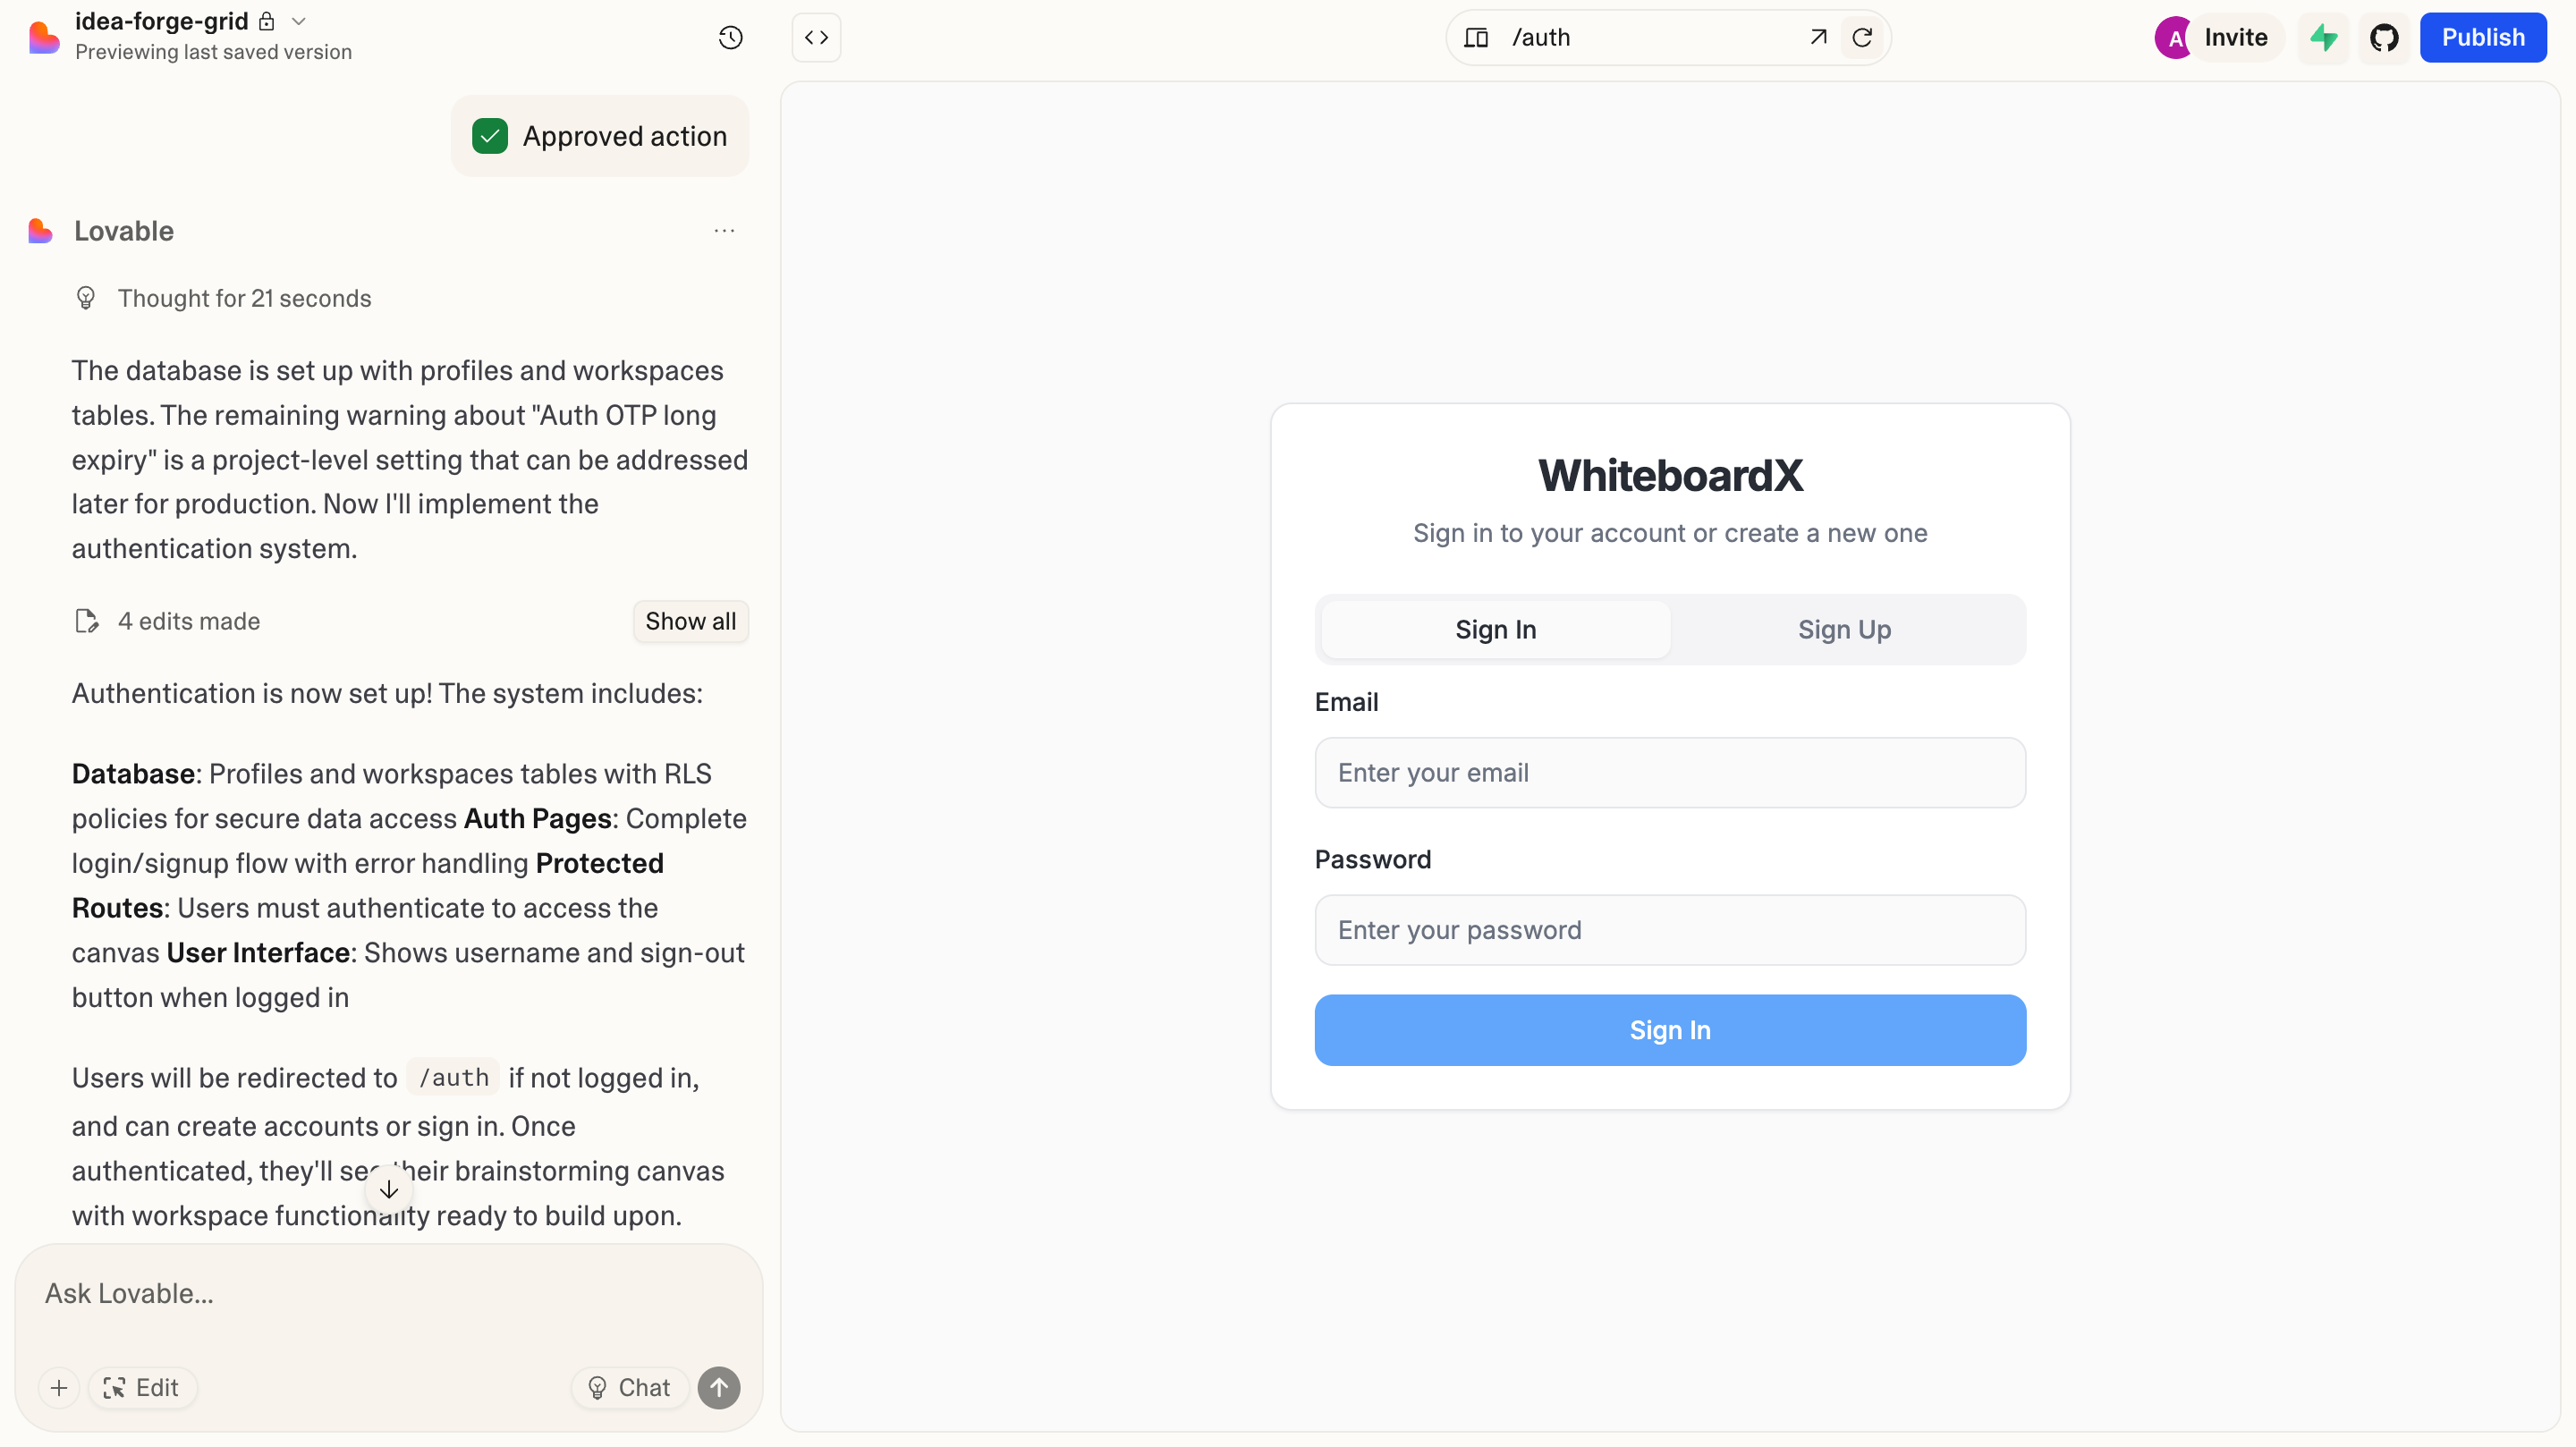
Lovable generated the entire flow - sign-up, login, wiring to Supabase, in minutes.

PM Takeaway - Authentication is often a multi-day engineering task. Here, it’s compressed into a few clicks and one prompt. That means as a PM, you can validate prototypes with user-level features — gated access, saved sessions, personalized flows, well before you get developer time.
Making Auth User-Friendly
A raw login wall isn’t great UX. Most modern apps let users explore first and only ask them to sign up when they want to save or share work.
Lovable lets you shape that flow too. With one prompt, I asked it to:
I do not want the authentication page to act as a wall. I want the users to be able to directly use the application, but if they wish to save their work, then they should be asked to sign-up/sign-in. Most web apps do it, you need to implement this whole flow a similar way.
WhiteboardX now supports open exploration, with sign-up as a natural step when users want persistence.
PM Takeaway - This lets you test not just features, but user journeys. For instance, you can validate if a guest-first flow improves adoption before involving designers or engineers.
Workspaces: Organising Ideas Like a Real Product
To simulate real product workflows, I added workspaces via prompt:
“Create a collapsible side navigation that tracks a user’s work history.”
Lovable built a functional workspace sidebar. I then refined it further with another prompt to allow workspace creation even for guests, with persistence tied to sign-in later.
PM Takeaway - With just prompts, you’re now testing organisational structures (like projects, workspaces, boards). These are core product patterns you can validate before engineers build anything.
By this point, I also renamed the project from the random default name Lovable assigned to something more meaningful - WhiteboardX. That small detail helped it feel less like a throwaway prototype and more like a real product in the making.
GitHub: Version Control & The Bridge to Cursor
At some point, you’ll want full control over your codebase. That’s where GitHub comes in.
From Lovable, connecting GitHub is a few clicks:
Click the GitHub icon
Authorize your account
Push your project to a repo
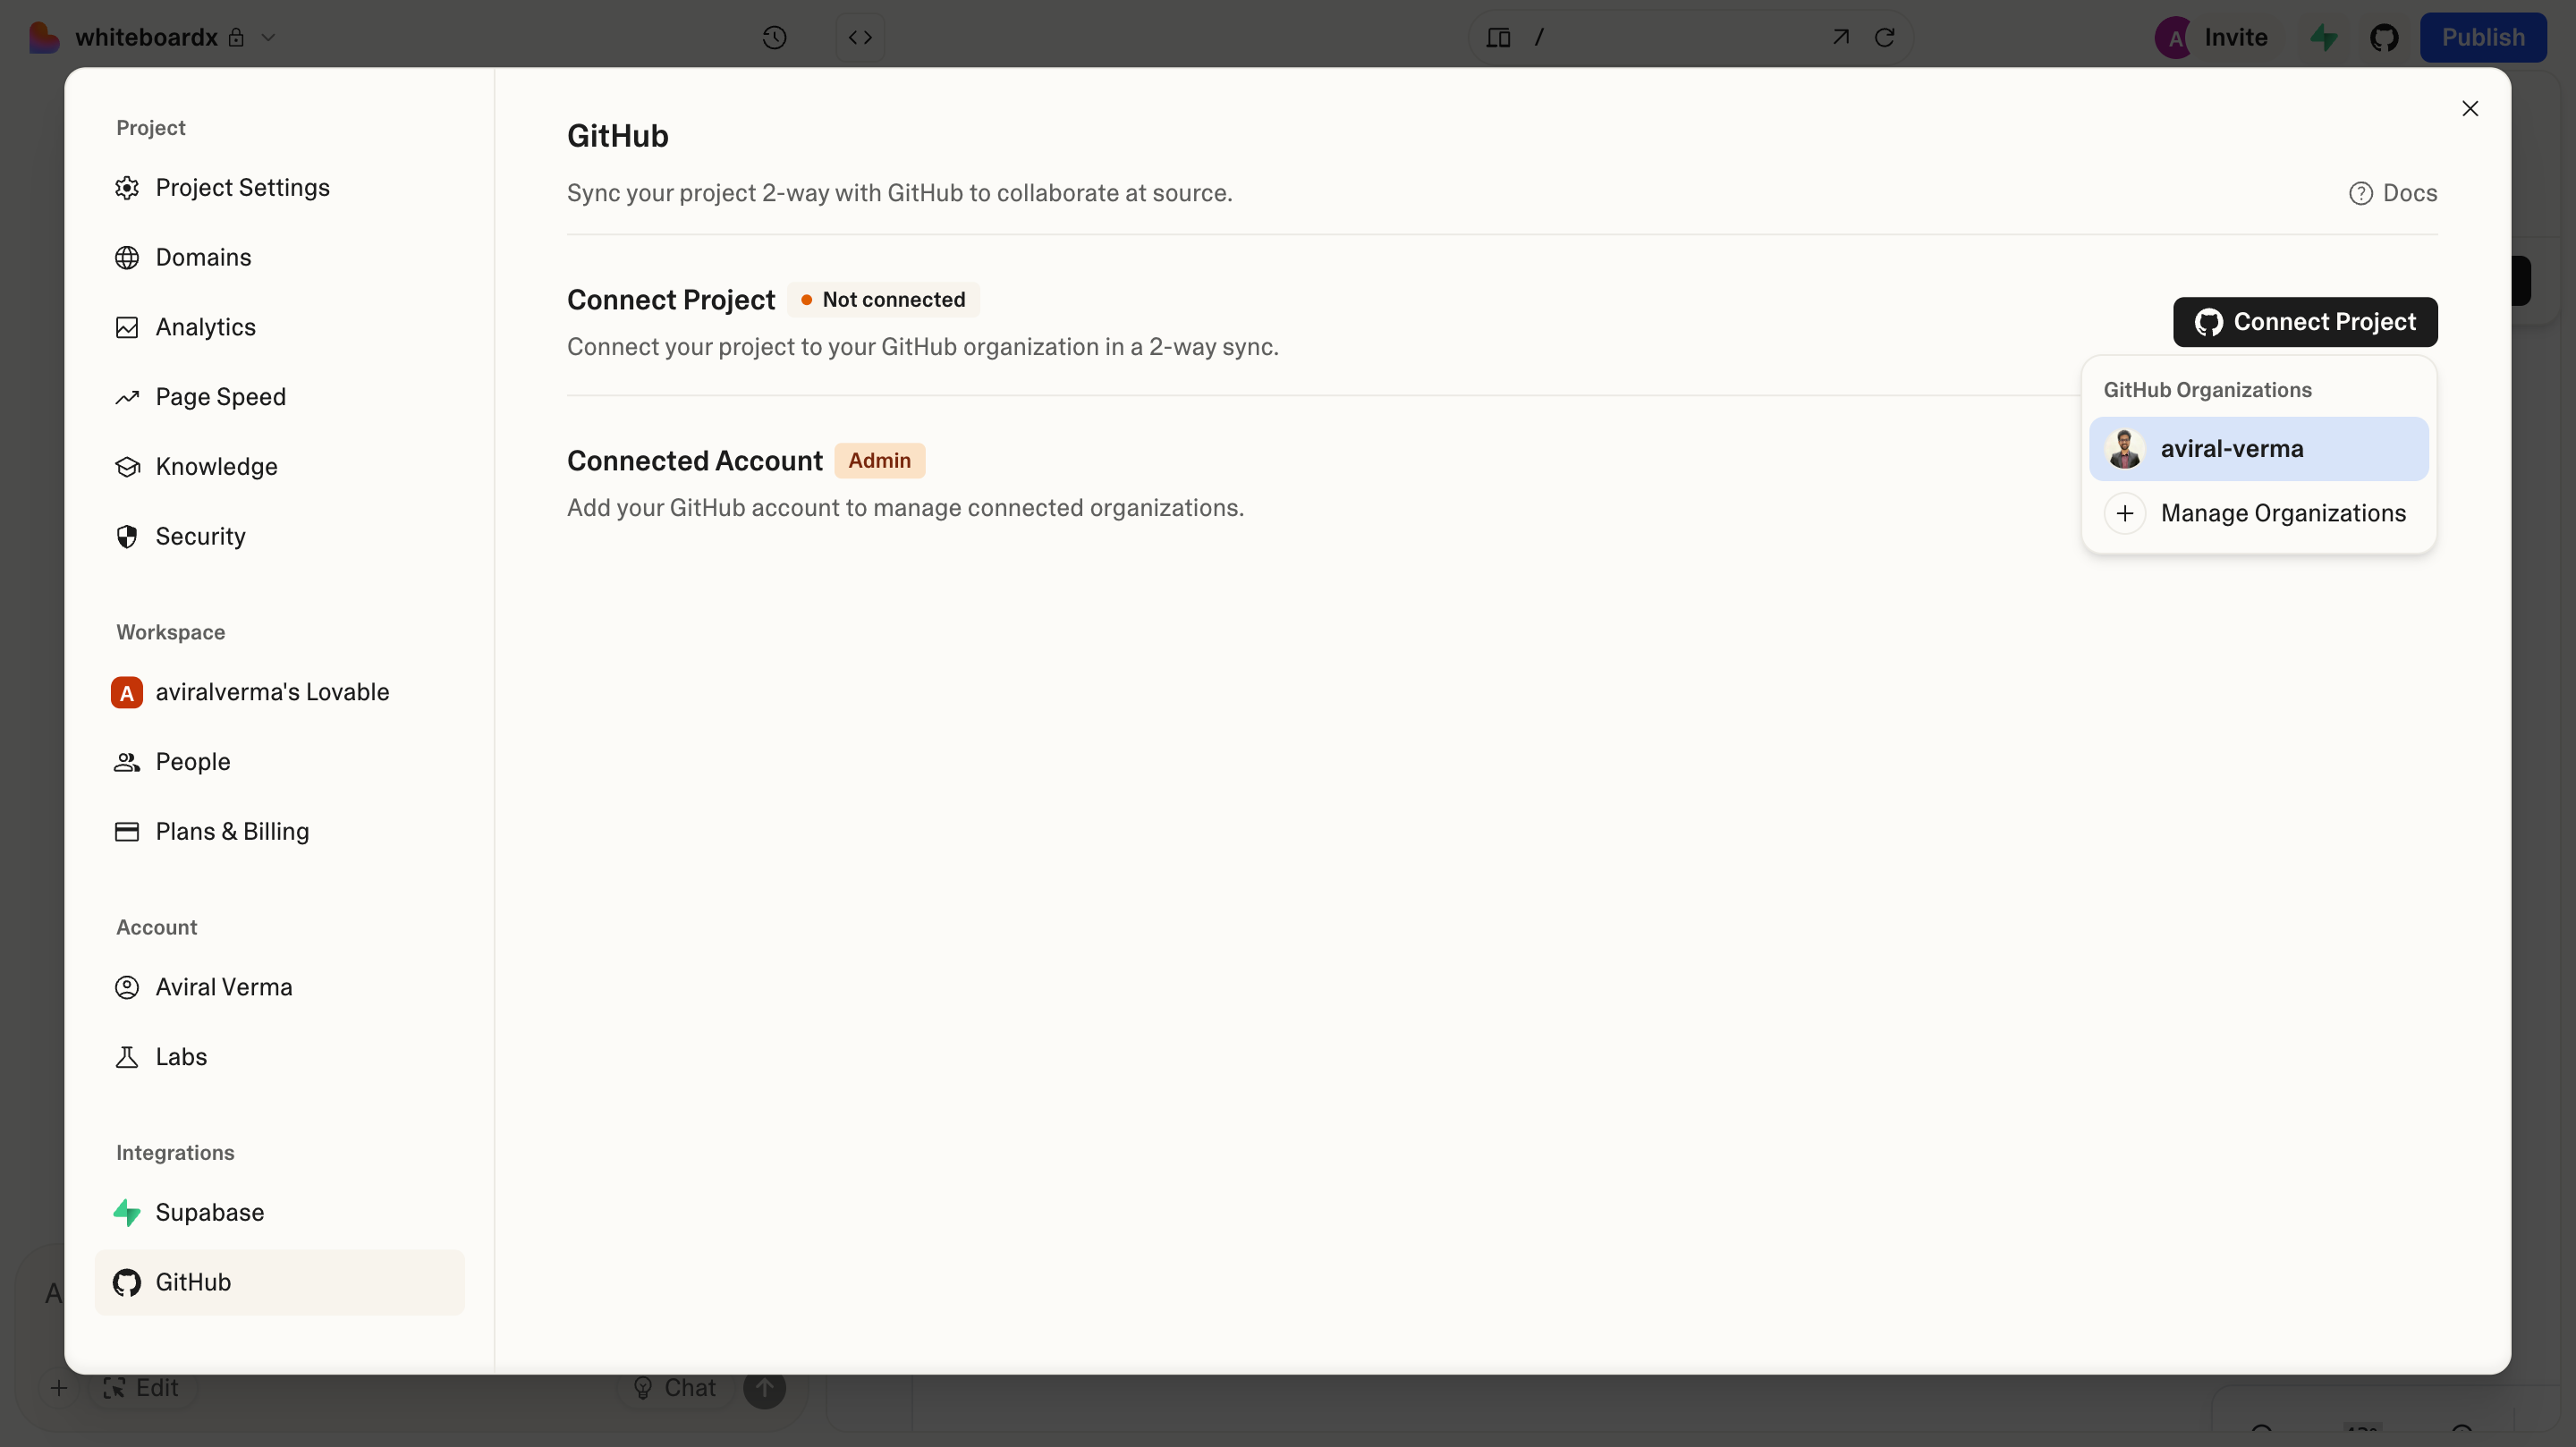
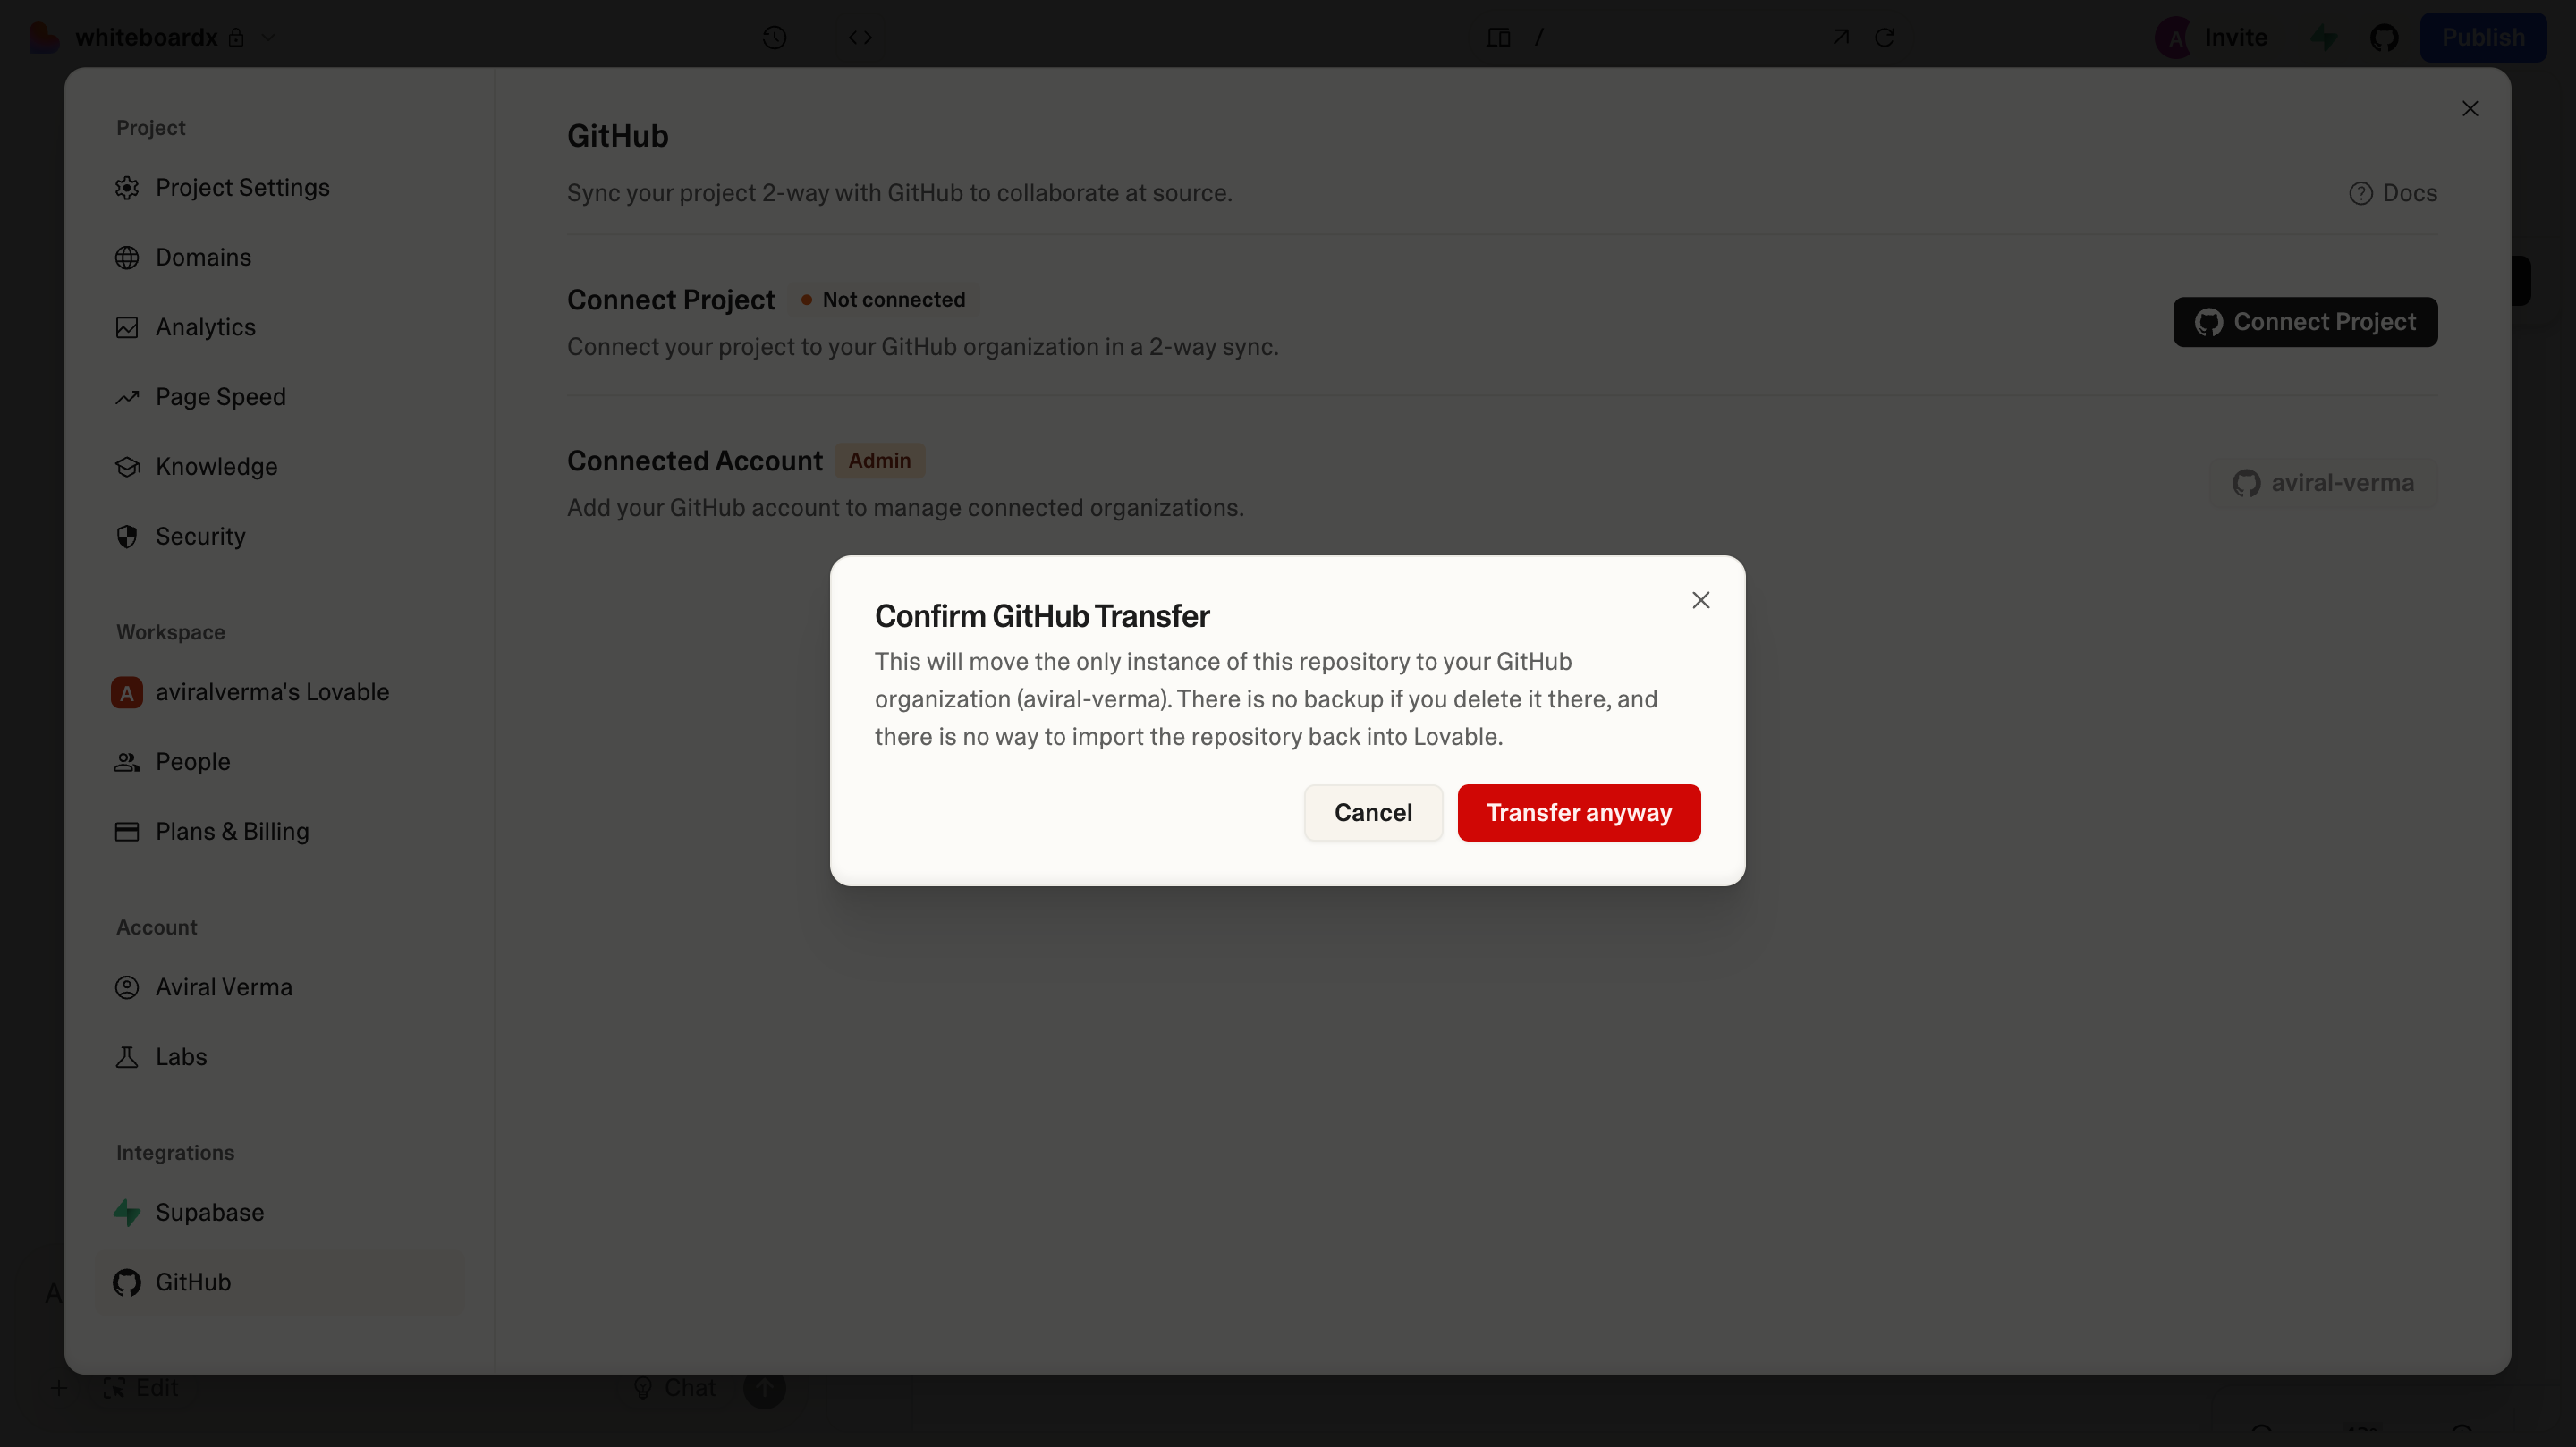
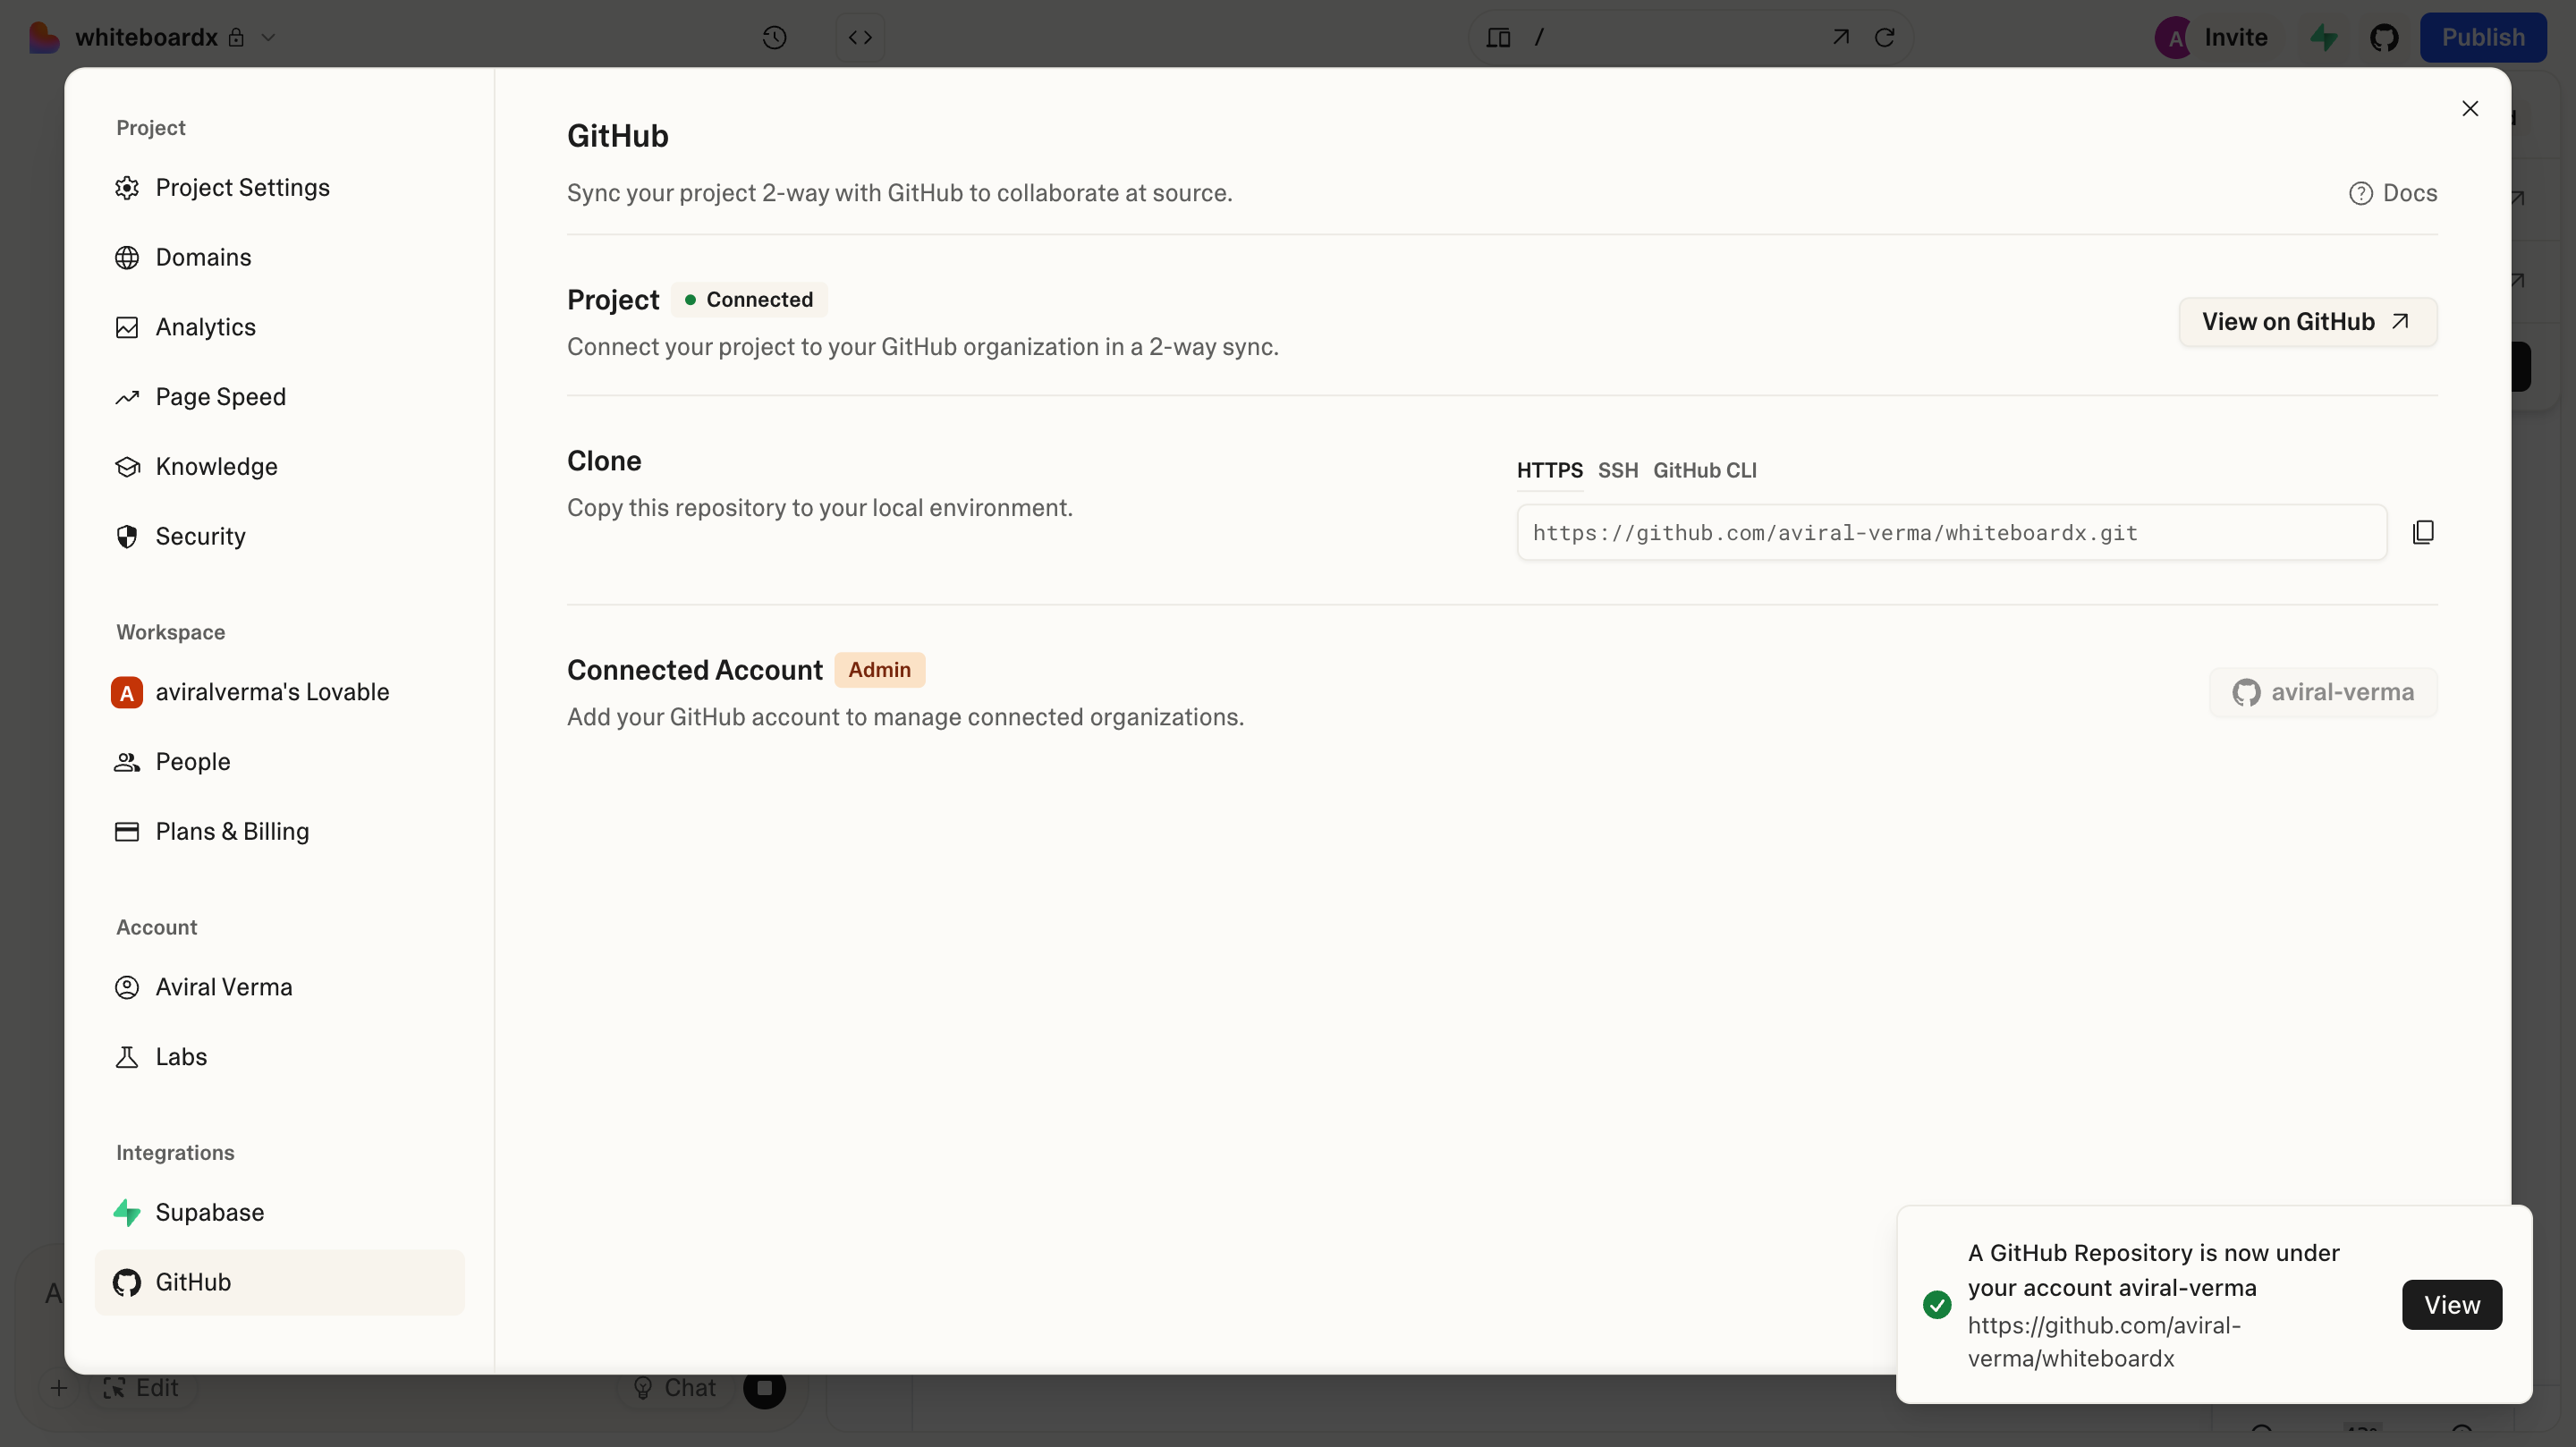
This not only gives you version control, but also acts as the handoff point to Cursor, where you can refine and expand the codebase.
PM Takeaway - GitHub makes your prototype’s codebase transparent, version-controlled, and easy to collaborate on. You can hand it to engineers for further development or keep iterating yourself.
By this point, we’ve covered a lot - generating UIs in Lovable, adding persistence with Supabase, setting up authentication, refining user flows, and syncing everything to GitHub. For many PMs, this level of prototype is more than enough to validate ideas with users and stakeholders.
But if you want more control, need to debug, or plan to build more complex features, the next step is Cursor - the “Cu” in the LoCuS stack. That’s where you gain full control of the codebase and can push your prototype beyond what prompts alone can achieve.
Cursor: Refining, Debugging & Building Beyond Prompts
Lovable gets you live fast. Cursor is where you gain engineering control - refining, debugging, and shaping the codebase for long-term use.

After pulling your project into Cursor, the first thing you’ll need to do is open the Terminal inside Cursor and run:
npm installThis installs all the dependencies that Lovable generated, ensuring the project runs locally before you begin extending or debugging it further in Cursor.
Working with Git in Cursor
Cursor is Git-native. Once your repo is open, you can treat it like a proper codebase.
You don’t need to know every Git command to manage your prototype. In practice, you’ll use just a few basics inside Cursor’s terminal -
git add .→ save all your changesgit commit -m "message"→ label those changes with a short messagegit push→ send committed changes to GitHubgit pull→ grab the latest version from GitHubgit checkout -b feature-name→ create a new branch for a feature or fix
A simple flow looks like this -
Start on
main, run:
git pullto get the latest code.
Create a new branch:
git checkout -b feature-nameMake your changes in Cursor.
Stage and commit:
git add .
git commit -m "short description of change"
Push your branch for the first time:
git push -u origin feature-name(after this, you can just use git push).
On GitHub:
Go to your repo → you’ll see a message like “Branch feature-name had recent pushes” with a Compare & Pull Request button.
Click it, review your changes, and create a Pull Request into
main.Once you’re happy (or once reviewers approve), click Merge Pull Request.
Back in Cursor, switch back to main and sync:
git checkout main
git pull
PM Takeaway - Think of a Pull Request like asking for a second opinion before merging into the “master copy.” Even if you’re working solo, it’s a nice way to keep your history clean and your changes easy to track.
Version History in Cursor
Cursor itself also maintains a local history of edits. Combined with Git commits, this gives you two safety nets - Cursor’s built-in rollbacks for quick fixes, and Git’s version history for larger checkpoints. If a new change introduces bugs, you can jump back to the last known good state.
PM Takeaway - Think of Cursor’s history as “Undo for coding,” and Git history as “Google Docs version history.” Together, they make it safe to experiment and iterate quickly.
Cursor Rules: Setting Guardrails for AI Coding
One of Cursor’s most powerful features is Rules - persistent instructions the AI follows while generating code. These act like your project’s “coding guidelines.”
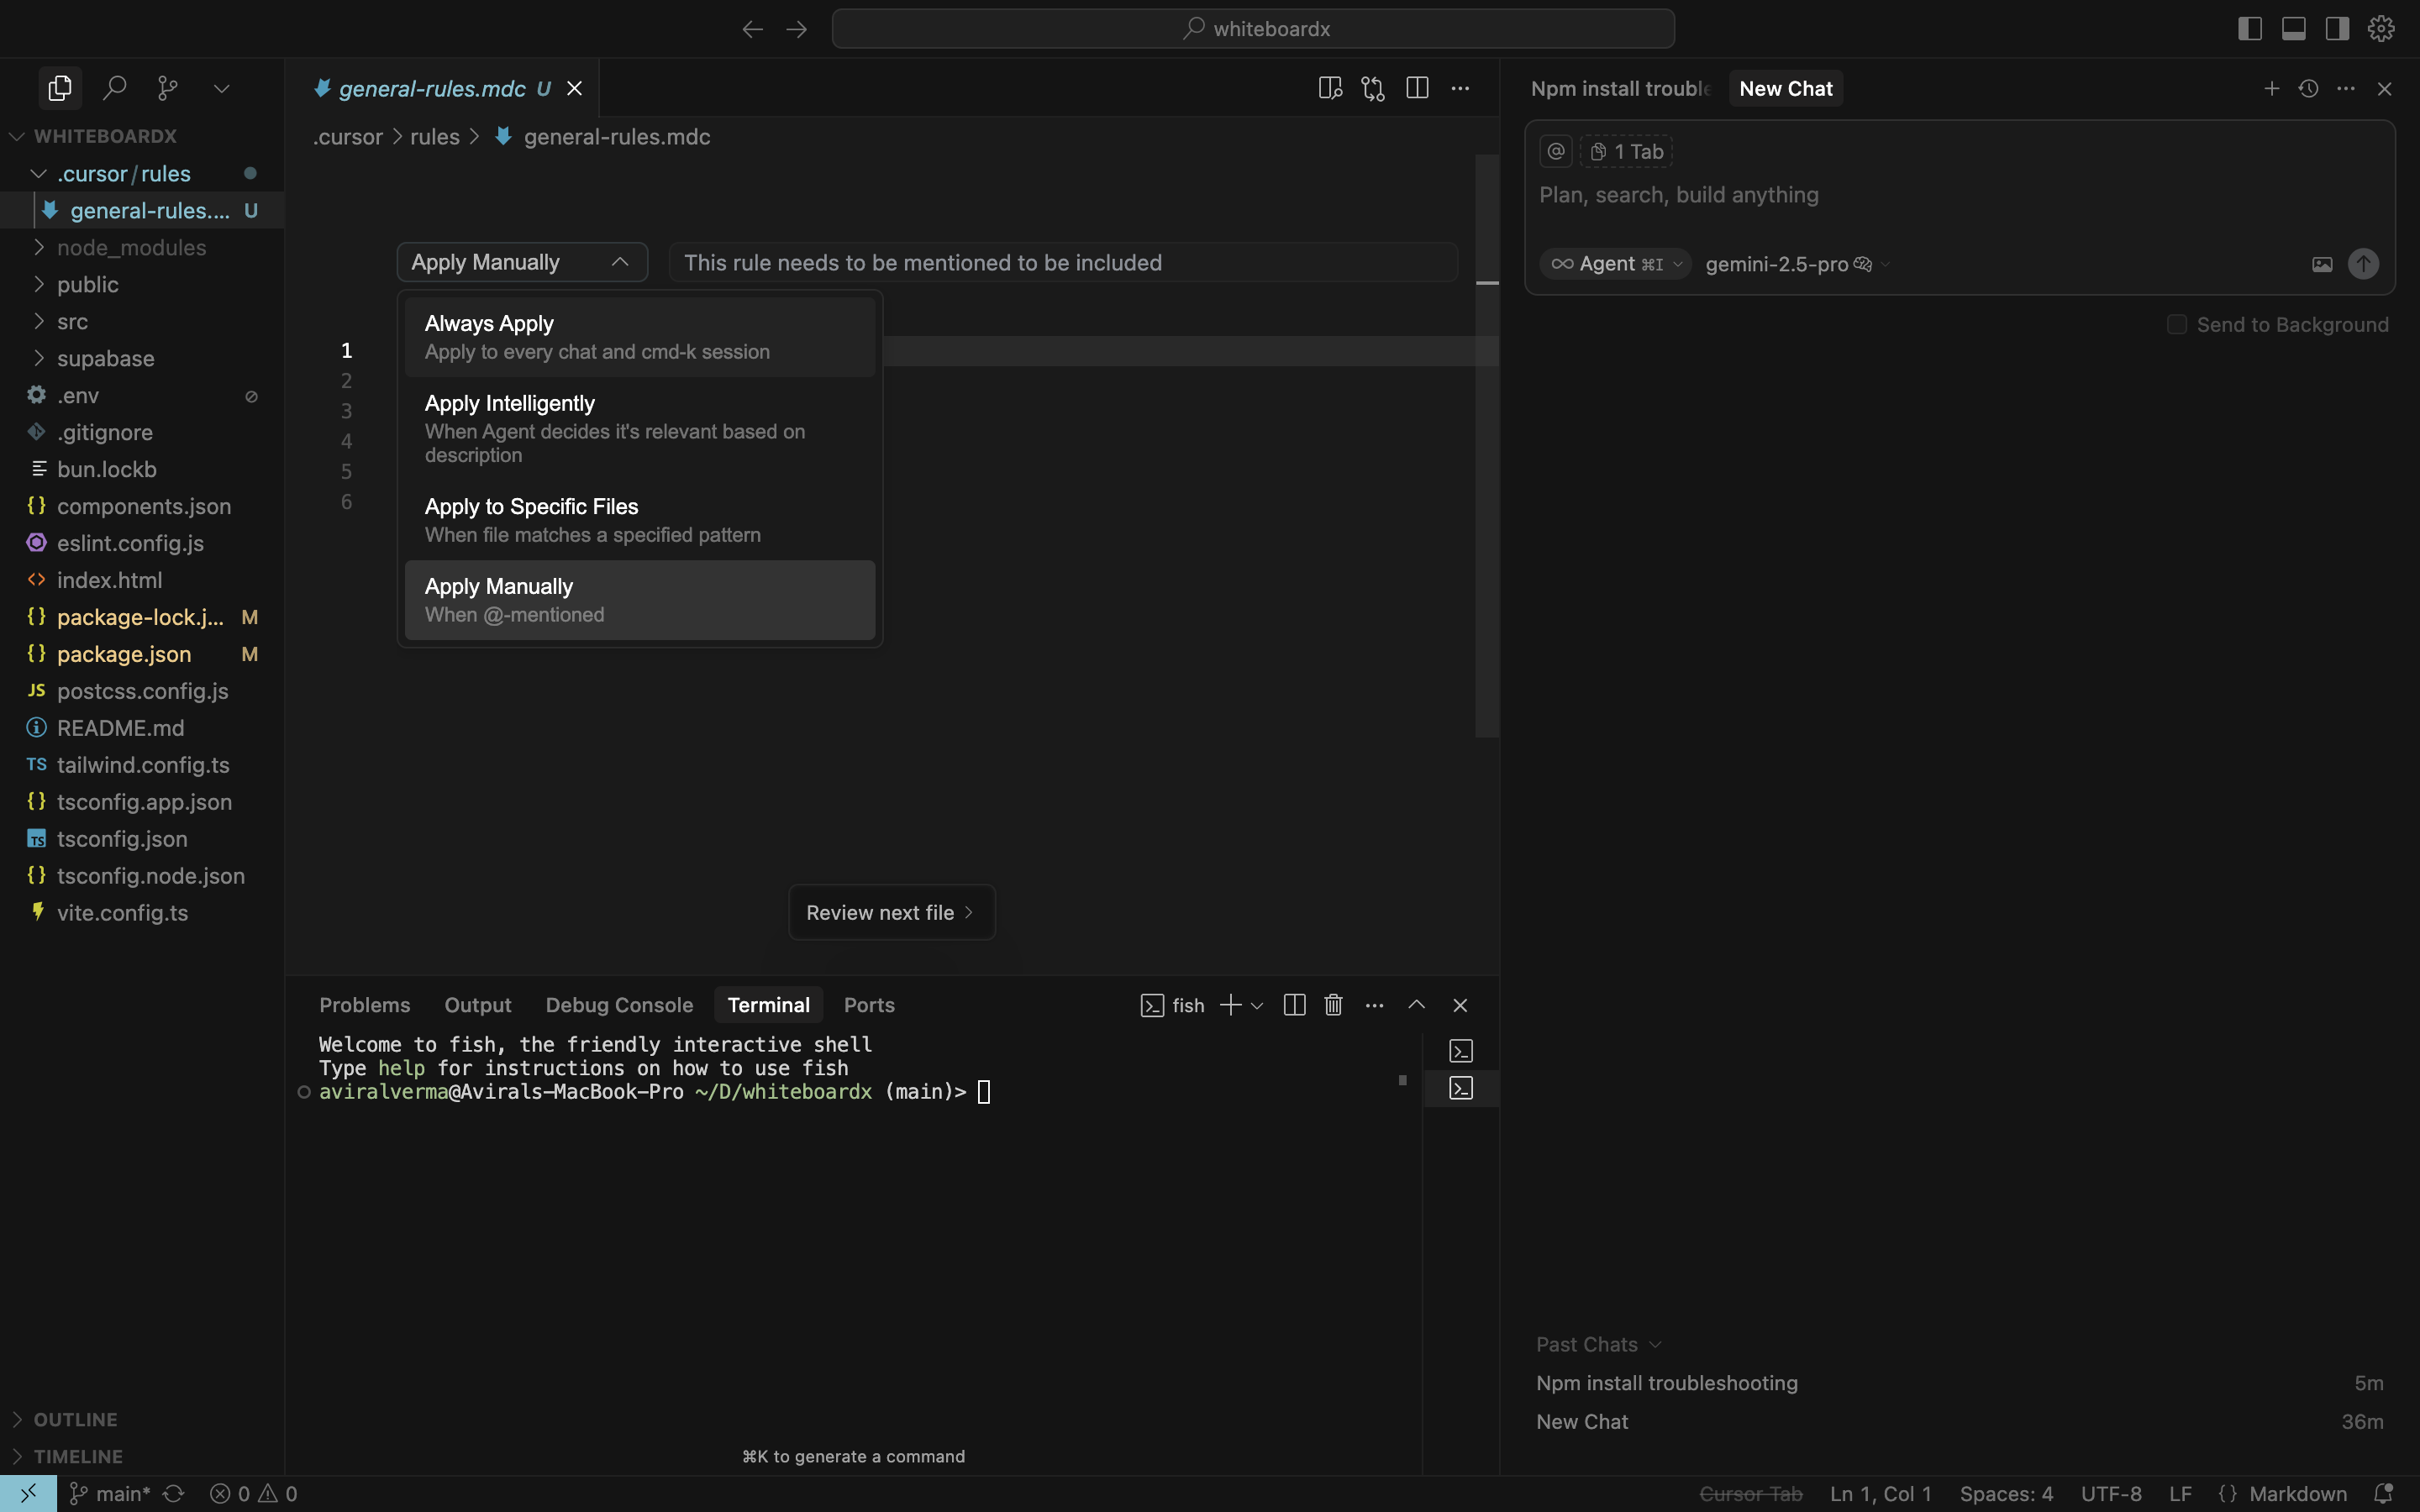
For WhiteboardX, one of my core rules looked like this -
You're building WhiteboardX, a web application for brainstorming ideas. We are using Supabase for both backend and database.
For any backend feature, don’t run SQL directly in Supabase. Instead, generate the SQL queries for me so I can run them manually in my Supabase instance.
The application should look premium and minimalistic, and always follow best software engineering practices - modular, component-driven architecture with separate code files for each feature.
This single rule told Cursor -
The vision of the app (brainstorming).
The stack & workflow (Supabase backend, SQL queries run manually).
The design philosophy (premium + minimal).
The engineering standards (modular, component-driven, separate files).
PM Takeaway - Think of rules as your way to “onboard” Cursor like a teammate. The more context you bake into them, the more consistent and high-quality the output will be.
MCPs: Extending Cursor with Supabase
Cursor also supports MCPs (Model Context Protocols), which let it integrate with external tools like Supabase.
For normal tasks in WhiteboardX - like creating tables, inserting sample data, or making simple schema changes - I usually just ask Cursor to generate the SQL queries for me, then I run them manually in Supabase via its SQL Editor. This workflow is quick, reliable, and gives me full control while still saving time.
But for more complex work - especially debugging or reasoning about the database - integrating the Supabase MCP (Model Context Protocol) into Cursor adds a new level of power. With MCP enabled, Cursor can directly read table structures, query results, and constraints from my Supabase project. This means it’s no longer coding “blind” - it can suggest fixes, validate assumptions, and debug issues with real database context.
PM Takeaway - Use Cursor-generated SQL + manual execution for straightforward tasks. But when you need Cursor to actually “see” your data model and help debug errors, the Supabase MCP turns it into a database-aware coding assistant.
Managing Tokens & Workflow Best Practices
One trap I hit early on - keeping all tasks in one endless Cursor chat. This bloats token usage and makes the model “forgetful” or inconsistent.
What works better is to start a new chat for each feature or task (e.g., Auth flow, Sidebar, Canvas fix).
This keeps context sharp, saves tokens, and ensures you’re not paying for extra fluff in every request.
PM Takeaway - Treat Cursor like task-based sprints. One chat = one feature. You’ll spend less on tokens and get cleaner results.
Choosing the Right Model
Different AI models shine at different stages. My preferred setup:
Claude 4 Sonnet → for building features. It’s structured, creative, and tends to write clear, extensible code.
Gemini 2.5 Pro → for debugging and fixing subtle issues. It’s sharp at spotting what’s wrong and narrowing down the exact issue.
Sometimes, just switching the model solves the problem - if Gemini gets stuck debugging, I try Claude, and vice versa.
By switching models depending on the task, I got the best of both worlds - fast feature creation + reliable debugging.
PM Takeaway - Different models think differently, and that’s a strength. Don’t expect one to do it all. The real advantage comes from knowing which model to use when, and switching deliberately to stay unstuck and move faster.
Debugging Made Simple
When something doesn’t work as expected, you don’t need to be an engineer to start troubleshooting. A few simple steps can go a long way:
Open DevTools in Chrome (right-click → Inspect).
Go to the Console tab → copy the error message.
Go to the Network tab → see if a request failed (red entries).
Share this info with Cursor. Just copy-paste the error or log into Cursor and ask -
“Here’s the error I see when I click save. What’s going wrong and how can I fix it?”Ask Cursor to add logs. You can literally prompt -
“Add some temporary logging so I can see what’s happening step by step.”
Cursor will insertconsole.loglines for you, making it easier to trace the problem.
PM Takeaway - You don’t need to debug like an engineer. Just capture what the browser shows and let Cursor guide you through the fix, one step at a time.
Turning Prototypes Into Products
By this point, WhiteboardX had evolved from a simple UI scaffold in Lovable into a feature-rich prototype powered by Supabase and extended in Cursor.
Cursor transforms your prototype into a living, evolving codebase. With Git discipline, clear rules, MCP integrations, token management, and smart model switching, PMs can guide AI like a tech lead - steering prototypes toward production quality without writing every line of code themselves.
PM Takeaway - Lovable gets you started. Cursor gives you the engineering muscle to scale. Together, they turn AI prototyping from a clever demo into a credible, testable product.
The real lesson of this playbook is simple - speed matters. As PMs, our edge isn’t in writing every line of code, but in shaping ideas quickly, testing them with real users, and iterating fast. The LoCuS stack gives you that edge - taking you from concept to a credible, testable product in days, not months.
If this playbook helped you, share it with another PM who’s curious about AI-first prototyping. And if you experiment with LoCuS yourself, I’d love to hear what you build.
Update: WhiteboardX has now evolved into an AI-native thinking canvas for product teams to research, explore ideas, and synthesize context - before anything gets executed. Join the private beta and help shape how teams make decisions with AI. Here is the link: WhiteboardX